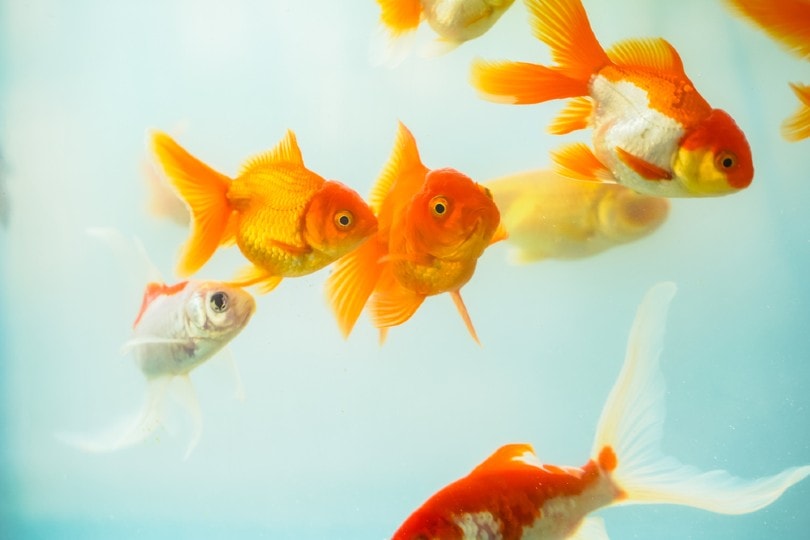
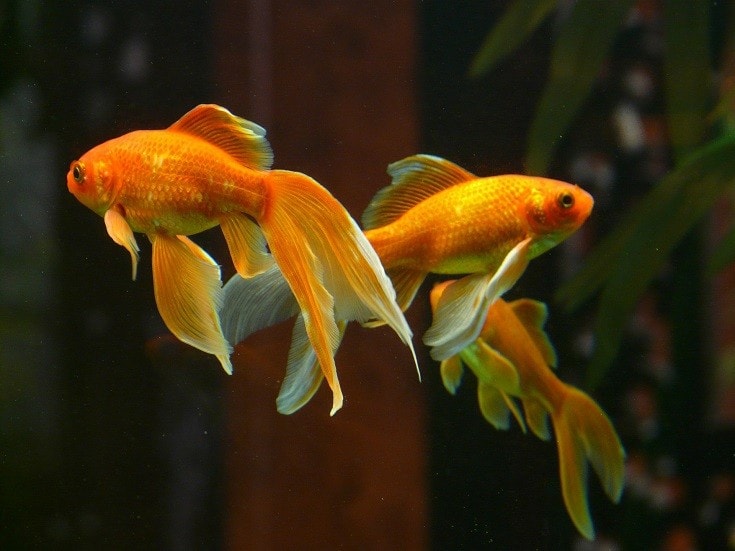
Changing the water in your goldfish tank is probably a task that you put off for as long as possible. Water changes can be a pain to perform. It can be time-consuming and messy, and then you wake up the next day to see goldfish poo everywhere again. There are some tips and tricks that make changing the water in your goldfish tank easier, though. Let’s talk water changes!

Equipment Needed for Performing Water Changes
The 6 Steps for Goldfish Nano and Small Tank Water Changes
1. Shut it down
Turn off the heater, filter, and other tank electronics. Unplug everything to ensure water doesn’t drip into the outlet. If you forget to turn your heater off before removing water, it may explode. If you forget to turn your filter off before removing water, you may burn out the motor.
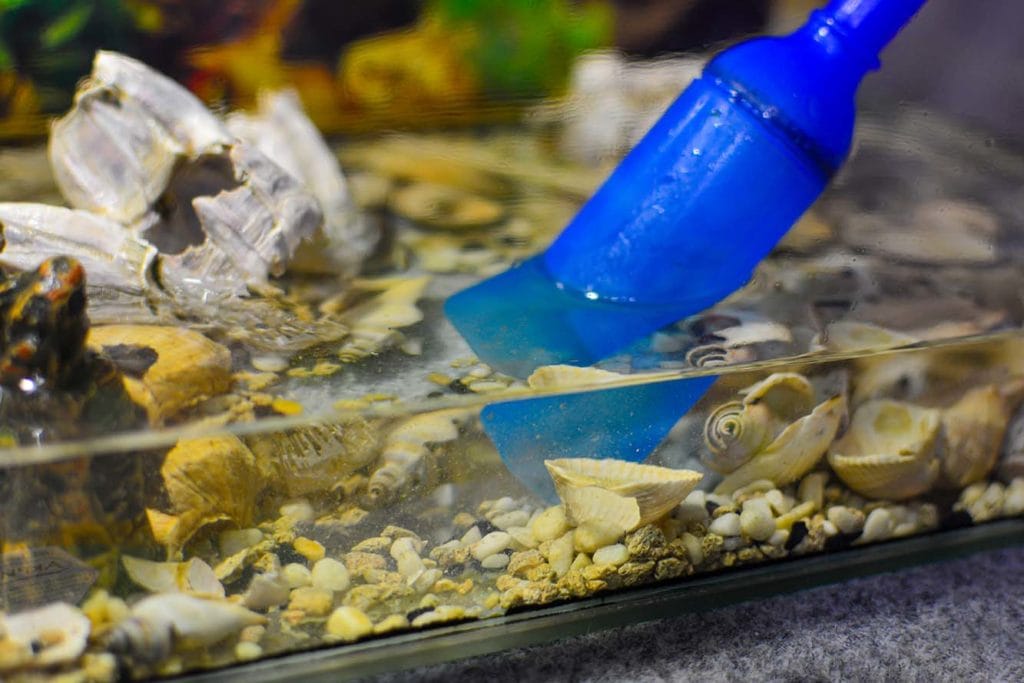
2. Vacuum or siphon the water
Using the gravel vacuum, create suction. You will either due this with a hand pump that is built into the tubing or by putting the end of the gravel vacuum into the tank, flipping it upside-down, and allowing it to fill with water until suction is created. Make sure you vacuum in crevices, the substrate, and in and around tank décor. Think of the places in your tank where the most waste might accumulate and focus your vacuuming in those areas.
3. Prepare clean water
This step and the second step can be performed in an alternate order if you prefer. Fill up your clean water container and add the water conditioner. Allowing the water conditioner to sit in the clean water before you add it to the tank allows it time to neutralize or remove toxins before the clean water is added to the tank. Your water conditioner should remove chlorine and chloramines, and neutralizing ammonia and nitrite is a bonus but not a requirement.
4. Toss the old water
While your clean water is sitting with the water conditioner in it, you can toss your old water. Fish tank water can be used as food for plants, dumped outdoors, or dumped into your sink or bathtub. If you choose to dump the water outdoors, ensure that no invasive plants, animals, or pests are in the dirty water. This includes duckweed, parrot’s feather, hornwort, some varieties of fish and snails, and many other items that are routinely found in home aquariums.
5. Add clean water
You can begin adding the clean water back to your tank at this point. It’s a good idea to make sure the clean water is close to the temperature of your tank water to ensure you do not accidentally shock your fish. Slowly pour the clean water into the tank, taking care not to stress your fish or move tank plants or décor around.
6. Restart
Once you’ve added the clean water to the tank, you can plug your electronics back in and restart everything. Make sure to double check that your water level is high enough for your filter to work properly and to at least hit the “fill line” on your heater. If your water level is still too low, repeat Steps 3 and 5.
If you are looking for help to get the water quality just right for your goldfish family in their aquarium, or just want to learn more about goldfish water quality (and more!), we recommend you check out the best-selling book, The Truth About Goldfish, on Amazon today. It covers everything from water conditioners to tank maintenance, and it also gives you full, hard copy access to their essential fishkeeping medicine cabinet!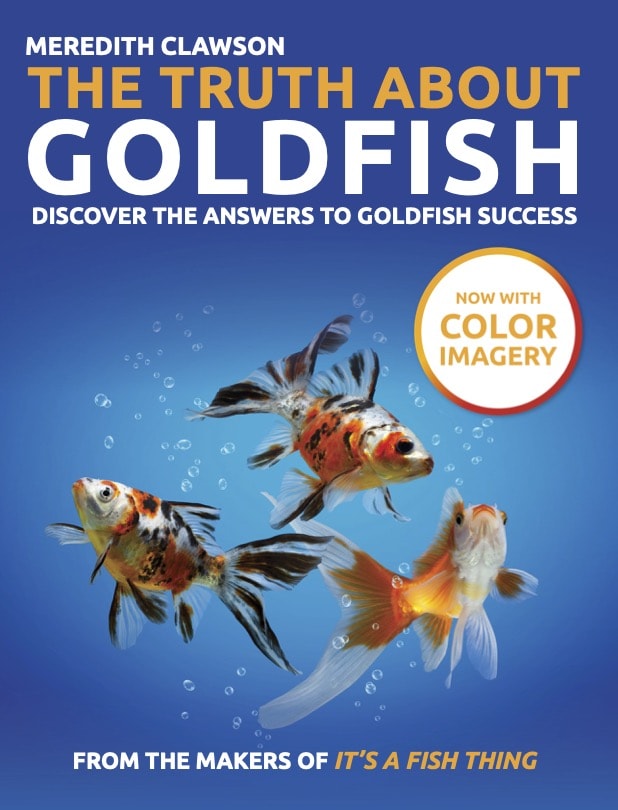
The 6 Steps for Goldfish Medium and Larger Tank Water Changes
1. Shut it down
Turn off all tank electronics and unplug them as discussed above.
2. Connect the tubing
Following the instructions on your Python or water changing system, connect the tubing to a nearby sink. This may require you to remove the filter on the sink. Be aware that these systems will not work with all faucets. You’re most likely to find a faucet to fit in your kitchen sink, but it’s not guaranteed.
3. Siphon the water
Put the siphon end of the water changing system into your tank, set the tubing to “drain”, then turn on the sink you’ve attached the tubing to. This will create suction that will allow you to suction dirty water out of the tank and deposit it directly into the sink. Don’t use this method if you have small fry or other animals that may get sucked into the tubing.
An alternative method is not hooking the tubing up to your faucet and using a hand pump to manually create suction, then draining the dirty tank water into a bucket, like in the nano and small tank water changes instructions. This will allow you to check your dirty water before pouring it out, so you can ensure that no fry, small fish, or invertebrates have found their way into the dirty water.
4. Turn off the faucet
If you used the method involving connecting the tubing to your faucet, then you should turn off the sink once you’re finished removing water. This will cut off the suction, stopping the water removal from the tank.
5. Treat the tank
Using the water conditioner, treat your tank directly using the guidelines for the amount of water you will be adding into the tank. If you removed 30 gallons from your 75-gallon tank, then you should treat the tank for 30 gallons of new water.
6. Refill and restart
If you’re using the method involving your water changing system being connected to the faucet, then you can switch it over to “fill” and turn the sink back on. Make sure the end of the tubing is in your tank before you do this! Once you’ve filled your tank the appropriate level, turn off the sink, remove the siphon, and plug your electronics back in and turn them on.
If you used the manual method of siphoning instead of using the faucet, then you can follow steps 3-6 from the nano and small tank water changes.
=Why Bother Doing Water Changes?
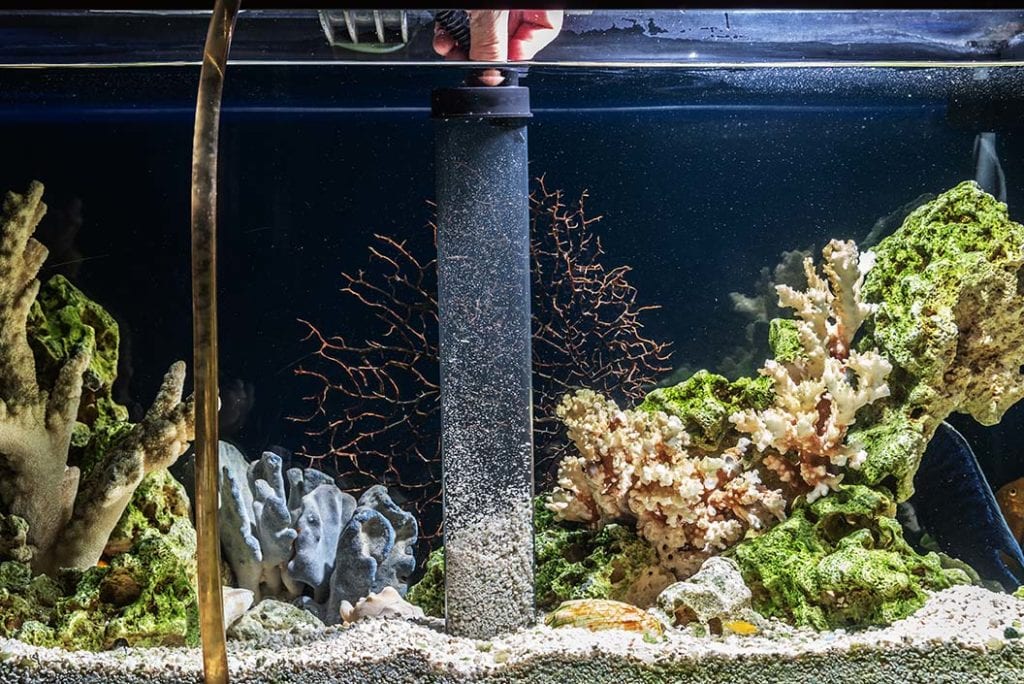
You’ve got a good filtration system, so why should you perform water changes? Well, a good filtration system will only get you so far. Adequate filtration will neutralize ammonia and nitrite, converting them to nitrate. It won’t, however, remove the nitrate from your tank. Plants absorb nitrate as fertilizer, but they usually won’t remove all of it from the tank. Water changes help remove excess nitrate. Not to mention that water changes also give you the opportunity to vacuum your substrate or tank bottom and to clean in and around décor and other places waste collects!
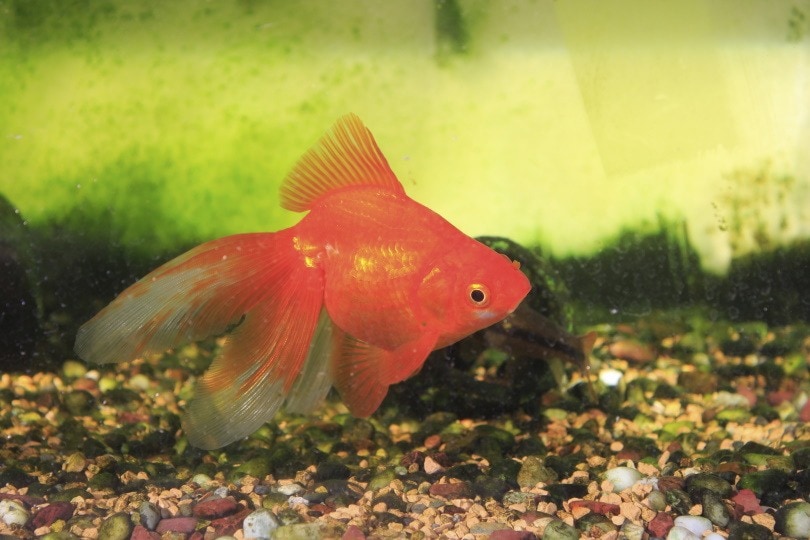
One of the most common causes of illness in goldfish is poor water quality. Routine water changes can help you ensure you are maintaining the healthiest environment for your goldfish. This can help prevent infections, as well as creating an environment that isn’t hospitable to parasites and other undesirable critters. If you aren’t performing water changes on a regular basis, then you may be opening your fish up for illness.
Now What?
Once you’ve performed a water change and allow the tank some time to settle, you should check your water parameters using the test kit. This will help you ensure that ammonia and nitrite are not present, nitrate is at a safe level, and your pH level is in the proper range. If you are having difficulty controlling water parameters after a water change, check the parameters of the water you are adding back to your tank. Tap water is especially prone to having chlorine and other chemical compounds in it that can be dangerous to your fish.

Final Thoughts
How do you feel about water changes now? It’s not the most glamorous chore in the world, but it gets the job done. You’ll feel much better knowing you’ve created a healthy and safe environment for your goldfish to live in. Try to come up with ways to make water changes easier on yourself. If you need to perform smaller water changes more frequently, that’s perfectly fine! If you can’t lift heavy buckets of water, invest in a water changing system, like a Python, to avoid needing buckets altogether. You’ve got great options available to you to make your life easier and your goldfish’s life healthier.
See Also:
- Can Goldfish Live In Brackish Water? We’ve Got The Answer!
- Water Quality and Healthy Goldfish (5 Tips for Success)
Featured Image Credit: GalinaSh, Shutterstock