

If you’re a cat parent, you know cat trees are fairly consequential pieces of kitty furniture to have around. Our feline companions love to be up high1 so that they can view their kingdoms. They also enjoy it when they have hidey holes1 or hammocks to snooze away in.
And while you can purchase a cat tree, you can also try making your own! It’ll be a little bit of work, but it’s something your pets will adore. One can make different kinds of cat trees — short, tall, with rope, with toys — but today, we’re sharing how to build a basic one.
So, keep reading for your step-by-step guide to building a cat tree!

Before You Begin
Before you start making your cat tree, you’ll need to decide on a location for it. Once you have that picked out, you’ll need to measure the space so you know how large your cat tree should be.
Then, you’ll need supplies.
How to Build a Cat Tree
And here is your step-by-step guide to building a fabulous cat tree for your favorite feline!
1. Measure the location where you want to put the cat tree
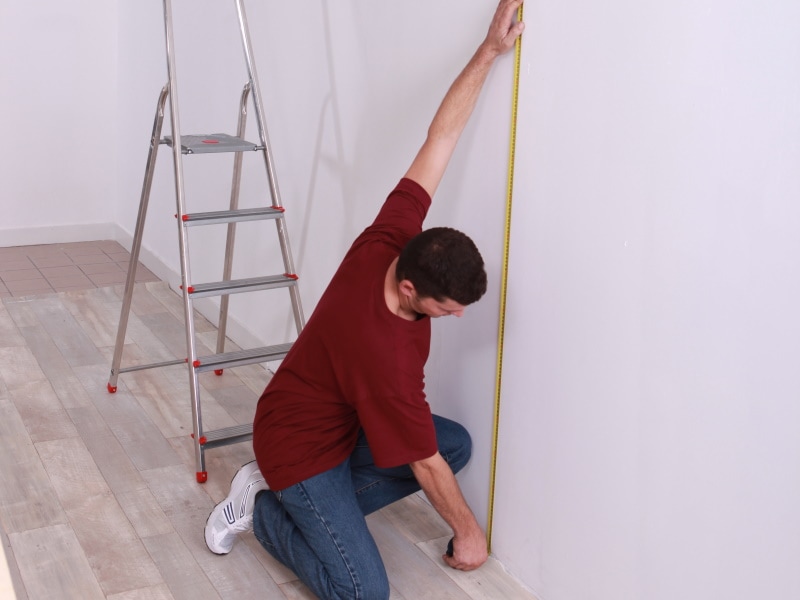
You do not want to build the cat tree only to have it not fit where you want it.
2. Design your cat tower
How tall will it be? How many levels will it have? Will you add toys, hammocks, or hidey holes once the basic cat tree is done?
3. Create the base of the cat tree

You’ll need this base to be large and heavy so that your cat tree doesn’t tip over. A base that’s 24 inches should get the job done, and to get the heaviness needed, you can put together two pieces of plywood (either with glue, screws, or nails).
4. Cover your newly made base with carpet
The best way of attaching carpet is with a staple gun, but you’ll want to ensure there aren’t sharp edges from the staples sticking out anywhere. You certainly don’t want your cat stepping on those! You can also glue the carpet onto the wood. You can use any type of carpet you want, but a thicker one might be preferred by your pet (and will last longer).
5. Next, it’s time for some vertical support

You can use wood or PVC pipes for the vertical support, but if you choose wood, you need to ensure it’s heavy enough to support the rest of the cat tree. Once you’ve selected the material, you’ll cut it to the size you need. Then, wrap your posts in carpeting and/or sisal rope before you attach them (you can also do this after the posts have been attached, but it may be more difficult).
6. When you’re ready to attach the vertical posts, you’ll need to drill or cut holes into the base of your cat tree first
Then, place the vertical supports into the holes and secure them via screws or nails.
7. After your vertical support has been added, you’re ready for your first perch!

Cut plywood to the size you need, cover it with carpet, then attach it on top of the vertical supports with screws or nails.
8. Repeat the vertical support followed by a perch process until your cat tree is as tall as you want it to be
Consider the size of your space and your cat.
9. Voilà! You’re done!
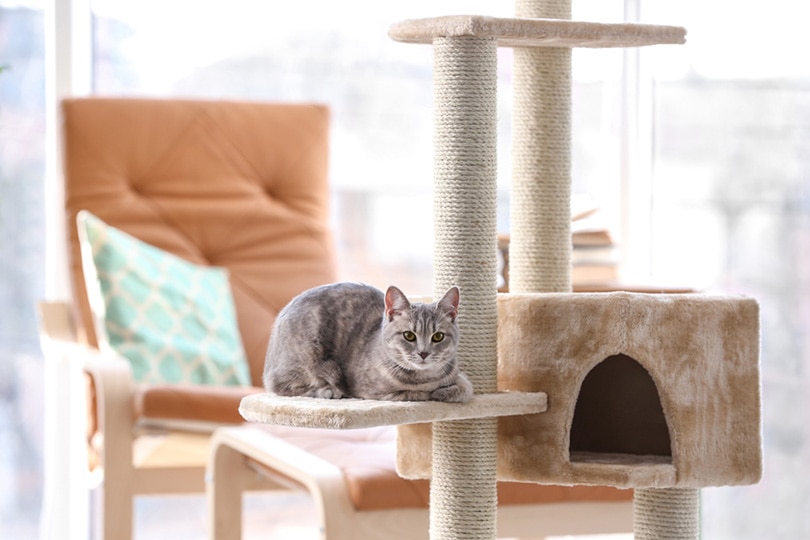
Introduce your cat to the newly-built cat tree and watch them enjoy it.

Adding on to Your Cat Tree
There are several ways to jazz up a basic cat tree, so your pet can have more fun with it.
Conclusion
Sure, you can buy a cat tree for your favorite kitty friend, but where’s the fun in that? Instead, make your own cat tree with this simple step-by-step guide! You’ll need a few handyman skills to get the job done, but it’s not as difficult as one would think. And once you’ve finished your basic cat tree, you can add some extra fun stuff for your cat to enjoy.
Overall, a homemade cat tree makes for a fun project and lets your pet know how much you love them!
Featured Image Credit: Nils Jacobi, Shutterstock


