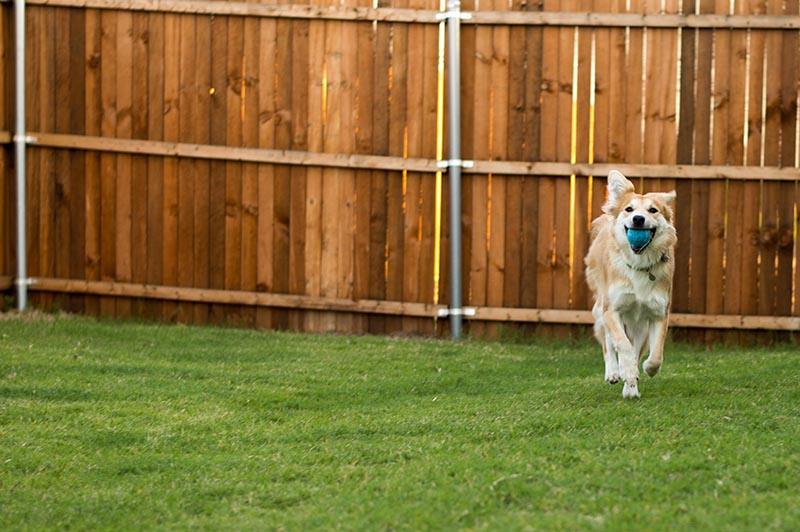

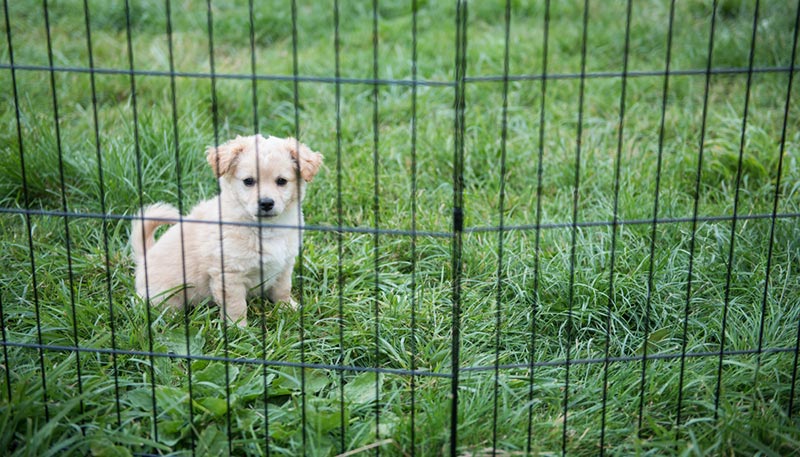
Dog runs offer the opportunity for canines to get outside and exercise without necessarily having free rein of the entire yard. This is especially important if your backyard is not fully fenced or if things like poisonous plants, a firepit, and sharp objects that could injure your dog are around. A dog run is a long and narrow piece of land that is typically fenced in and sometimes covered with a roof.
The run can be outfitted with a doghouse and toys for comfort during the day. Keep in mind, though, that dog runs are for temporary use during the day only. Under no circumstances should a dog live full time in a dog run unless they’re in a rescue center and living options are limited. Here is a step-by-step guide for building a DIY dog run in your yard.

How to Build a Dog Run
1. Decide How Big the Dog Run Should Be
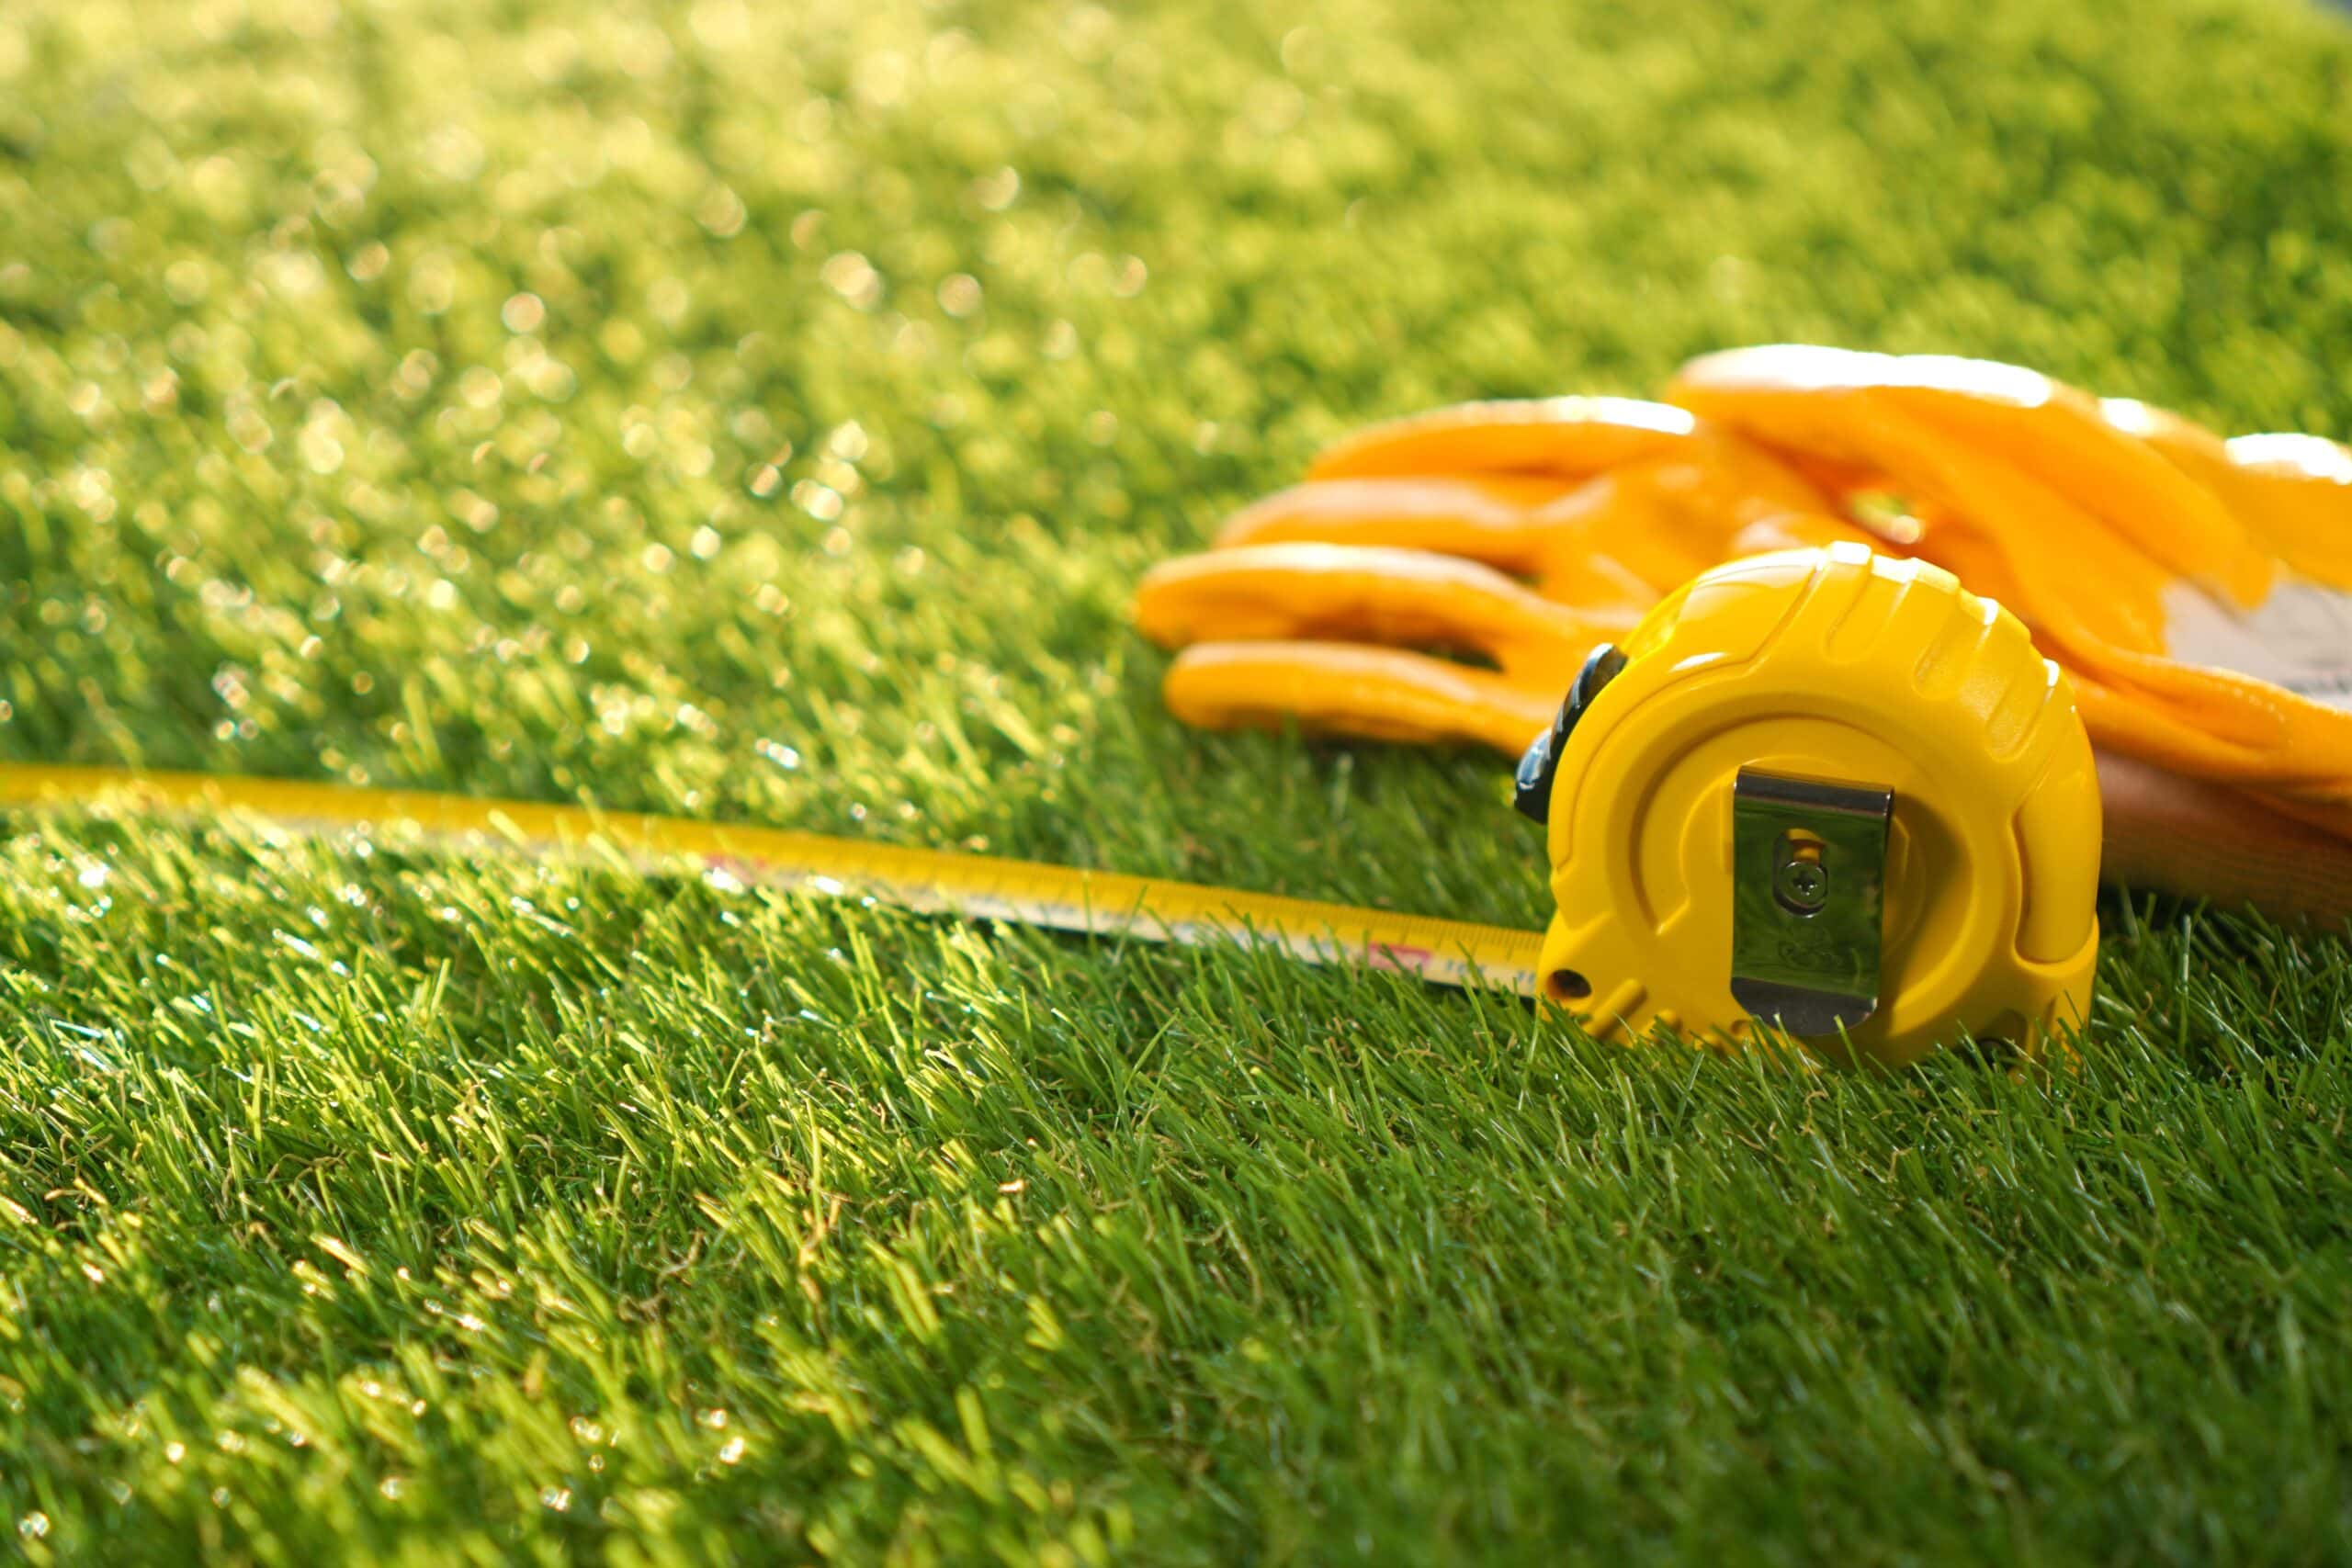
Before you do anything else, determine what size you want your dog run to be. Keep your dog’s age and size in mind to ensure that they will have enough space to be comfortable while spending time in the enclosed run. Your dog should be able to take several steps from one end to the other before running into the fencing. The width should be at least twice as wide as your dog is long. The younger the dog, the more space they tend to need to manage their energy levels. A popular size option for medium-sized dogs is about 8 feet long by 4 feet wide.
2. Choose a Place for Your Dog Run
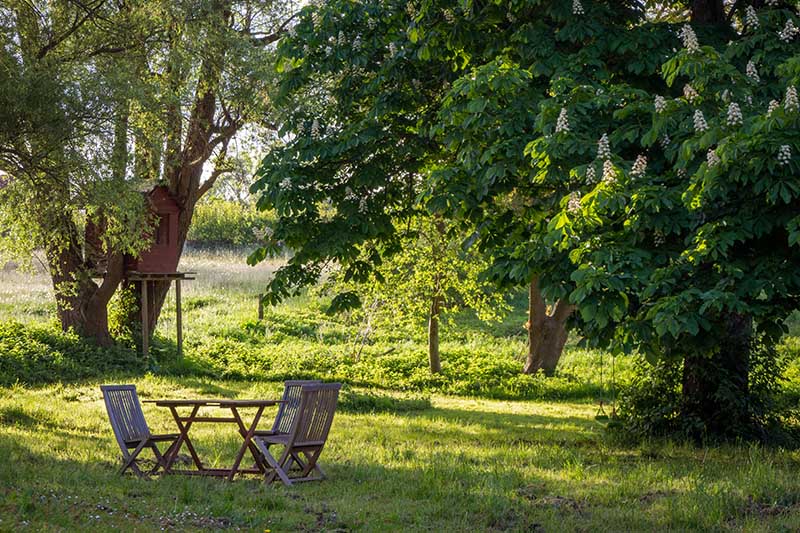
Once you know what size your dog run will be, choose a place in the yard to build it. The space should be open and easy to work with, and ideally, it should also be surrounded by trees for protection from the sun. You could connect the run to a back porch so it’s easy to put your dog in the run and take them out again, or you can choose a place in the back of the yard where it’s quiet and peaceful. It’s best to stay away from property lines so as not to irritate your neighbors or their own dogs.
3. Clear Out the Dog Run Space

Clear out the space where your dog run will go so no weeds, roots, or other debris are left behind. If the space is grassy and free of debris, you can leave it as-is if you want to. Otherwise, use a tiller to remove the top 3 inches or so of the ground, and dispose of it in another location. This will create a clean, flat layer of ground to lay flooring for extra comfort.
4. Select Flooring Material, Then Lay It Down
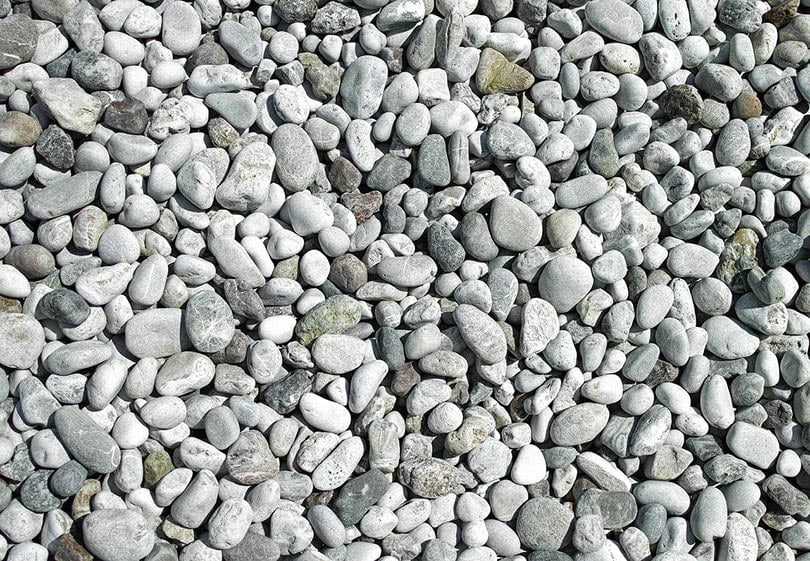
Next, select a type of flooring to lay on the area that you tilled. There are a few options to consider, including gravel, concrete, and mulch. Concrete is costly and can be tough to pour on your own, and gravel can be rough on a dog’s paws. Therefore, we recommend using mulch, which can be found at most home improvement stores. Mulch is absorbent, won’t harbor smells, is easy to work with when picking up after your dog, and is soft enough to lie on without sacrificing comfort. It’s also easy to install because you only have to spread it around with a rake. Gravel can be laid and spread with a shovel. Any concrete that you buy should come with directions for installation.
5. Dig Holes for the Fencing Posts

Now it is time to dig holes for your fencing posts. These should be at least twice the width of your fencing posts and 1 foot deep. You can use a small shovel to get the job done, but if you have the money to do so, consider investing in a clamshell or post-hole digger to make the job much easier. This type of tool enables you to dig into the ground and pull out the soil that you are removing so you can quickly discard it elsewhere. It’s essentially a shovel and an excavator in one.
6. Install the Posts & Fencing
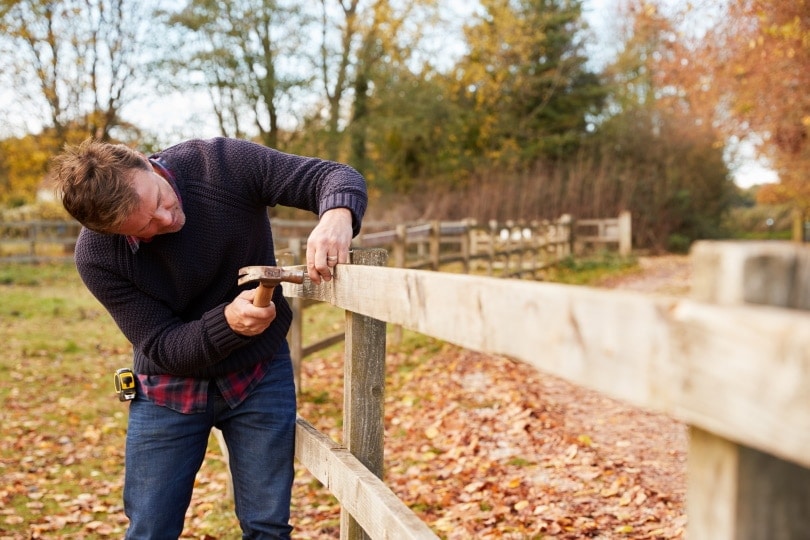
After your holes are dug, start installing your poles one by one. You will need ready-mix concrete to get the job done. Once your concrete has been mixed and is ready to use, place a fence post in a hole, then pour concrete into the hole around the post until it starts to overflow. Hold the post in place for several minutes until the concrete starts to set, then move on to the next post.
Let the posts cure for at least 24 hours before attaching the chain link fence to them. Follow manufacturer instructions for the attachment process if they are included. Otherwise, refer to your local home improvement department for instructions, as the process is not as easy as just tying the fencing to the posts. You’ll have to frame the posts for fence durability and make sure you have all the right tools and components to get the job done properly.
7. Install an Access Door
You have a few choices when it comes to installing an access door. First, you can just install a premade gate, which will require you to frame the fence so it can accommodate the gate. This means putting the posts exactly far enough apart that the gate fits snuggly when installed. Another option is to cut a space for a doggy door, then frame that space and install the door. You could always frame a door yourself with your leftover fencing and then install that for easy access.
8. Considering Covering the Top
To protect your dog from the sun and rain, consider covering the top of your newly created dog run to create a house-like environment. You can go simple and cover it with a tarp for sun protection, but keep in mind that the tarp will not hold up well to rain and could start drooping into the dog run when it fills with water. A better option is to attach metal roofing to the fencing to create a completely covered structure. You may need extra tie wire and a bit of roof framing to get the job done.
Conclusion
Building a dog run takes time, patience, and commitment, but your dog is sure to appreciate all the hard work that you put into the project. You will also have peace of mind knowing that your pet is safe whenever they spend time outside alone. It’s a win-win situation for everyone. This is a great project to get the whole family involved in, as there are plenty of different things to do, from digging holes to working with concrete. It’s a chance to bond!
Featured Image Credit: Emily on Time, Shutterstock
Contents
- How to Build a Dog Run
- 1. Decide How Big the Dog Run Should Be
- 2. Choose a Place for Your Dog Run
- 3. Clear Out the Dog Run Space
- 4. Select Flooring Material, Then Lay It Down
- 5. Dig Holes for the Fencing Posts
- 6. Install the Posts & Fencing
- 7. Install an Access Door
- 8. Considering Covering the Top
- Conclusion


