

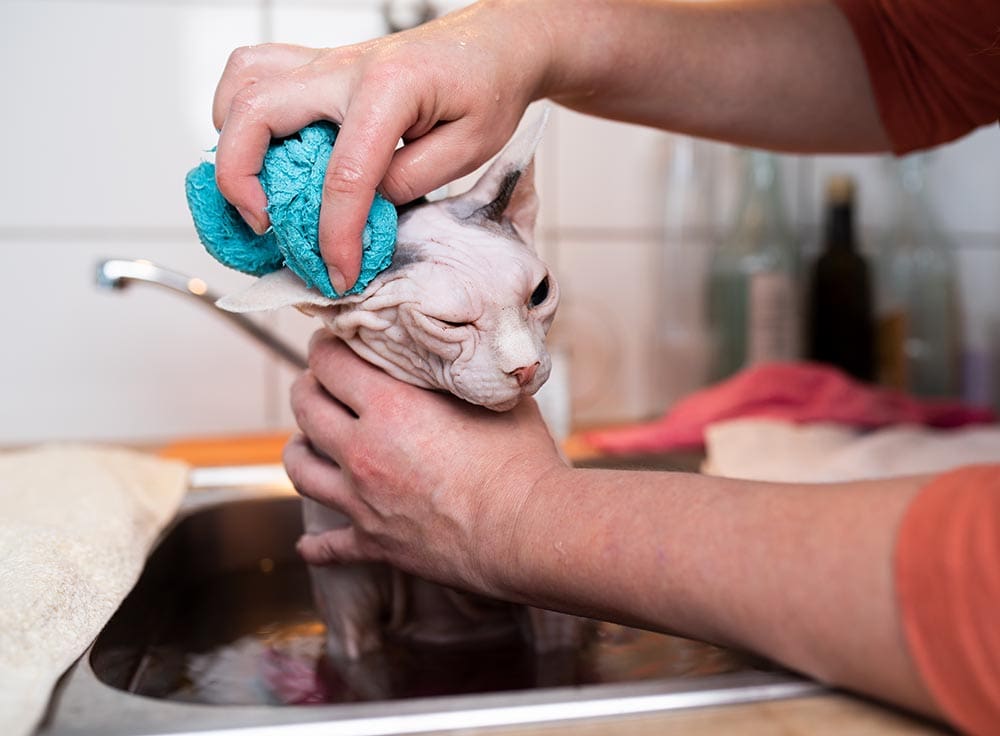
When it is time to clean the gunk out of your kitty’s ears, it is pretty vital to know what you’re doing. After all, if you are unfamiliar with the process, you could seriously damage the inside of their ears. Lucky for you, this is a pretty easy task once you get the hang of it.
If you still feel uncomfortable after viewing the tutorial and reading through the steps, you can always take them to your veterinarian or grooming professionals to get proper assistance.

The 6 Steps to Clean a Cat’s Ears
You can follow the steps below and watch this tutorial for guidance on proper ear cleaning for cats.
1. Wrap Your Kitty Up
To prevent scratching or clawing, you will want to bind your cat up in a soft towel. That way, their legs are gently pinned down to avoid thrashing or rigorous movement.
Some cats can be a bit more frisky than others, so it’s especially important to protect both you and your feline.

2. Warm Ear Solution
You never want to place a cold solution in the ears, as it can create a shock in your cat’s body. Always make sure to warm up the solution just a tiny bit before applying.
3. Apply Solution
Applying a very small amount of solution into your cat’s ears. It doesn’t take much, so you won’t want to be generous here. The entire goal is to loosen any dirt or debris. If you use too much solution, it might actually cause infection if you leave residual moisture in the ears.
4. Massage
Once you apply the solution, gently take the outer ear and massage the solution into the ears. This will work to loosen any gunk buildup.
5. Use Cotton to Rid Debris
Use cotton balls to gently remove the access solution and remove any dirt or debris from the ear canals. Be careful not to go down too far. You’ll want to stay on the outside of the ear to not damage the soft tissue of the inner ear.

- Gentle Care For All Pets - Infused with moisturizing hypoallergenic ingredients & enriched with...
- Deep Cleans From Head to Tail - Tackle the toughest dirt & messes with our extra strong pet wipes...
- Freshness On The Go - Each dog grooming wipes pack contains 30 counts of premium dog wipes that...
Whether your pet needs a quick refresh or cleanup of a sensitive area, pet-safe wet wipes are a convenient option. We recommend Hepper's Wash Wipes because they're effective on dirt and odors but also gentle on the skin. These USA-made premium wipes are safe for cats and dogs of any age and contain hypoallergenic, moisturizing ingredients.
At Pet Keen, we've admired Hepper for many years, and decided to take a controlling ownership interest so that we could benefit from the outstanding designs of this cool cat company!
6. Repeat on the Other Side
Once you’re finished with that side, you’ll just repeat the same steps for the other side, and have a kitty with squeaky clean ears.

 The 5 Reasons Cat Ear Cleaning Is Important
You should always make sure that your cat’s ears are 100% clean. They can get quite gunky over time, which can lead to a few other problems. Also, you run the risk of having parasitic infections as well. Let’s talk about a few of those in more detail.
1. Preventing Mites
Mites can be a little hard to detect, but they can cause great issues for your kitty friends. Mites are tiny white parasites that feed on the oils in your cat’s ear canals.
Mites are incredibly contagious, so if you have multiple cats, they can transfer from one to the other very quickly.
2. Treatment for Mites
Your veterinarian will be able to determine for sure if your cat has ear mites. If they see that this is an issue, they can prescribe treatments or eardrops to clear up the situation.
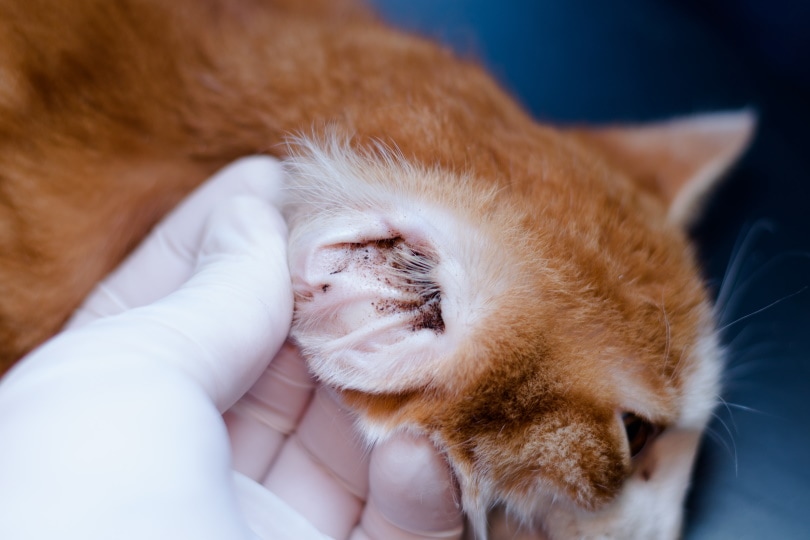
3. Wax Buildup
If you don’t clean your cat’s ears, they can produce a lot of wax buildup. Some cats will have no issue with excessive buildup, but others might have an overproduction.
Weekly cleanings can help reduce this issue to keep the ears nice and tidy.
4. Infection
If your cat gets a lot of moisture in their ears, it can cause a perfect breeding ground for bacteria. This bacteria can multiply, causing ear infections, which can be very painful and irritating to your feline. Your infections do require veterinary treatment.
5. Treatment for Ear Infections
If you suspect your cat has an ear infection, it’s time to make an appointment with your vet. They will be able to prescribe an antibiotic to take care of the infection if it warrants. Recurring yeast infections in the ears might also be a sign of food allergies.
How Often Should You Clean Your Cat’s Ears?
You should clean your cat’s ears no more than once a week. If you clean your cat’s ears too frequently, it can cause infection or damage to the inside of the ear.

Final Thoughts
So, now you know that cleaning your cat’s ears doesn’t have to be a time-consuming task, nor does it have to be too difficult. As long as you are cautious about how much solution you put in their ears, and you make sure to get them very dry when all is said and done, your cat will be free of ear problems.
Just remember not to overdo it—your cat only needs a good ear cleaning once a week at most.
Also see:
Featured Image Credit: TRAPHITHO, Pixabay


