Click to Skip Ahead
Hay is a costly expense that is unavoidable if you own horses. Paying for hay year after year can quickly take a toll on you and your wallet. If you are looking to take control of your horse’s hay needs on your own, you can consider growing it for yourself.
Of course, growing hay isn’t something that should be approached on a whim. It does require knowledge and expertise, which is why we created this article about the top tips and tricks for growing quality hay for your horse.
To find out how to grow hay of great quality for your horse, read on. We will give you two different growing options, as well as provide tips for planting, harvesting, storing, and feeding the hay. Let’s dig right into growing your own hay for your horses.
Choose Your Land: Renovate or Seed Yourself
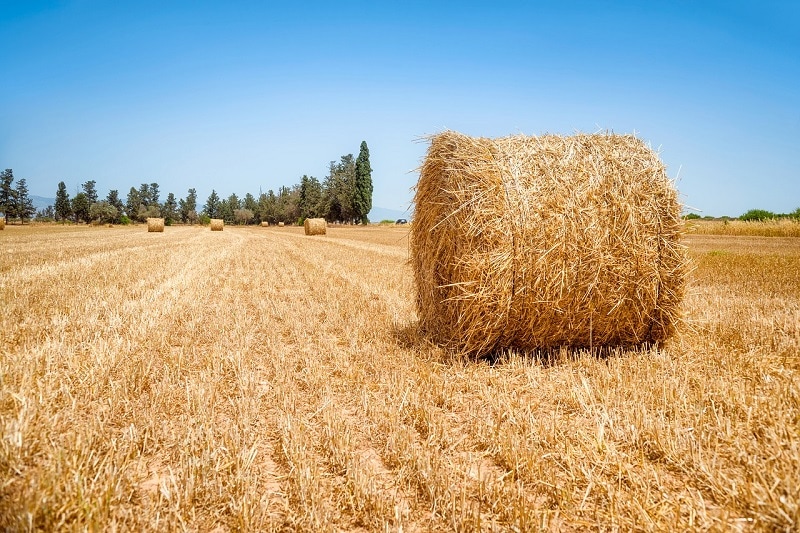
If you’re thinking about growing hay for your horses, that means that you have access to quite a bit of land. You will typically find yourself in one of two scenarios: you either have an old hayfield that hasn’t been used for some time or you have land that has never been used for hay.
If your land used to be a hayfield, you may want to simply renovate the land. Otherwise, you may need to go through the trouble of seeding the land yourself. Let’s learn more about both cases below.
1. Renovate the Land
In the case that your property used to have hayfields, you may be able to restore the fields without completely starting from scratch. Oftentimes, preserving the established solid layer can help with erosion problems, making it a preferable option. At the same time, overgrown land typically comes with a high number of weeds, making it difficult to obtain high-quality hay.
In order to get rid of the weeds without sacrificing the quality of the hay, you need to begin by mowing the hayfield consistently. As you mow frequently, the grass grows back faster than the weeds and prevents weeds from reaching maturity. This will cause the weed root system to rot and die. At the same time, the hay and soil will still be rich in nutrients.
2. Seed Yourself

If your field has never been used to grow hay before or there are simply too many weeds to handle, you will need to start from scratch. Begin by selecting the type of hay you want to grow. The three most popular hay types for horses are alfalfa, timothy, and Bermuda grass.
Alfalfa hay is really high in protein, offering a lot of minerals and energy for your horses. If your horses are not active, this may be too much energy for them, causing them to gain weight quickly. On the other hand, timothy hay and Bermuda grass hay have lower protein but are less calorie-dense. This is a great option for horses that are eating out of boredom, but it may not be enough for workhorses.
After you’ve decided what kind of hay you want to grow, you need to prepare the soil. If you are simply revitalizing a hayfield, the soil will already be of proper quality. When starting from scratch, you will need to get the soil tested to learn about its acidity.
Depending on the type of hay you select, you should shoot for different acidity levels. For example, timothy hay should have a pH of 5.5 to 7, whereas Bermuda grass should have a pH of 5.5 to 6.5. Alfalfa has the highest acidity levels, with a rating between 6.5 and 7.5.
You can increase the acidity of the soil by adding lime to it 6 months before the seeding process begins. Make sure to maintain nitrogen levels and to continue testing the soil to take away any guesswork. Make changes as you see necessary.
Planting Tips

The time of year you should plant your hay depends on where you live. We recommend talking to locals in your area to get the best insight into your hayfield. You can never find something that answers as accurately as you would from asking experienced locals.
Depending on where you live, you may want to start planting the hay in late fall or summer. The best time of year could also fall in between those seasons. Once again, just ask experts that live near you and they will be happy to help.
No matter what time you are planting the seeds, don’t plant them too deeply. If you plant them too deeply, they may not germinate. Hay forages should only be planted around ¼-inch or ½-inch deep. In fact, it’s totally OK for some of the seeds to be at the surface. You might find a seeder to be helpful.
With your seeds in the ground, wait and watch until harvest time!
How to Harvest
As with any other plant, the harvest time for hay depends on the hay you selected. For best results, cut your hay before it reaches full maturity. This hay will have more leaves and more nutritional value. Of course, it’s totally fine to feed your horses hay that has fully matured. Just expect the hay to be stemmier, have fewer leaves, and have fewer nutrients.
Unfortunately, we do not have enough time to go into thorough detail about the complex topic of harvesting. Instead, here is a general overview of the four steps to harvesting hay correctly:
Storing and Feeding
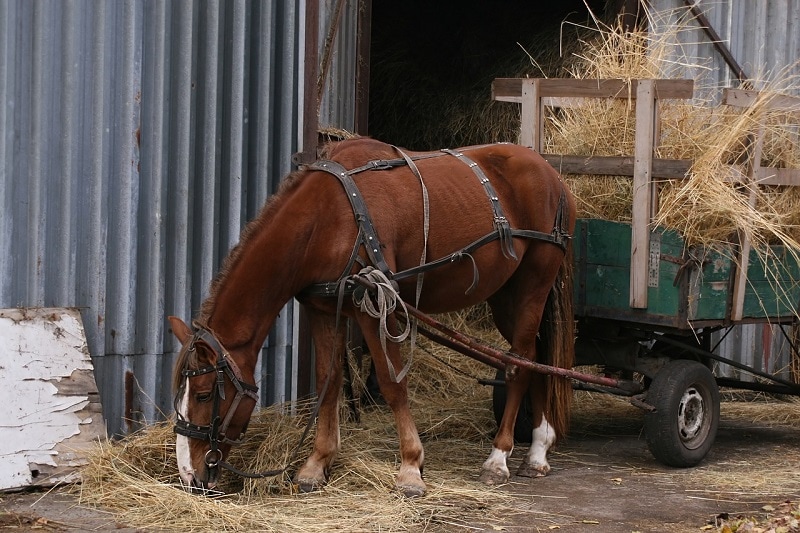
Once you have successfully harvested the hay, all you have to do now is store and feed it to your horses. Even though the heavy work is done, you cannot neglect storing your hay, or else you could have wasted all that time and energy. Storing hay incorrectly can cause it to mold and become inedible.
Wherever you store your hay, make sure that it is protected from snow and rain. It also needs to be properly ventilated so that it can continue drying out. Oftentimes, it takes weeks if not months to fully dry. You also want to keep the hay safe from critters that want to make a nest out of the hay.
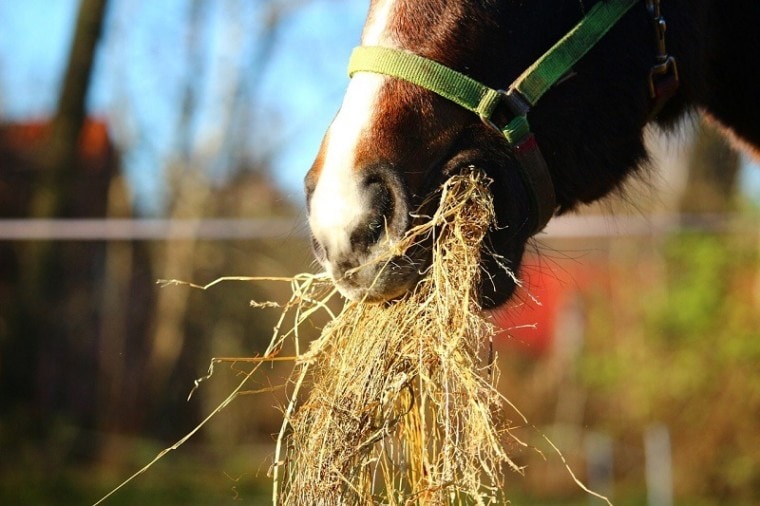
Once the hay is completely dry, you can begin feeding it to your horse as needed.
Summary
Growing quality hay for your horse can help you save money on their diet, but it does require a whole lot of hard work and effort. Whether you are starting from scratch or revitalizing an old hayfield, expect to put in a lot of blood, sweat, and tears into your horse’s hay.
Do not get discouraged throughout the process. As with just about any other gardening option, growing hay does take a lot of time and experience to get right. Whenever you get discouraged, just think of how happy your horse will be with the tasty and nutritious hay that you grew yourself!
Featured Image Credit: rihaij, Pixabay


