Introduction: Hatching Quail Eggs
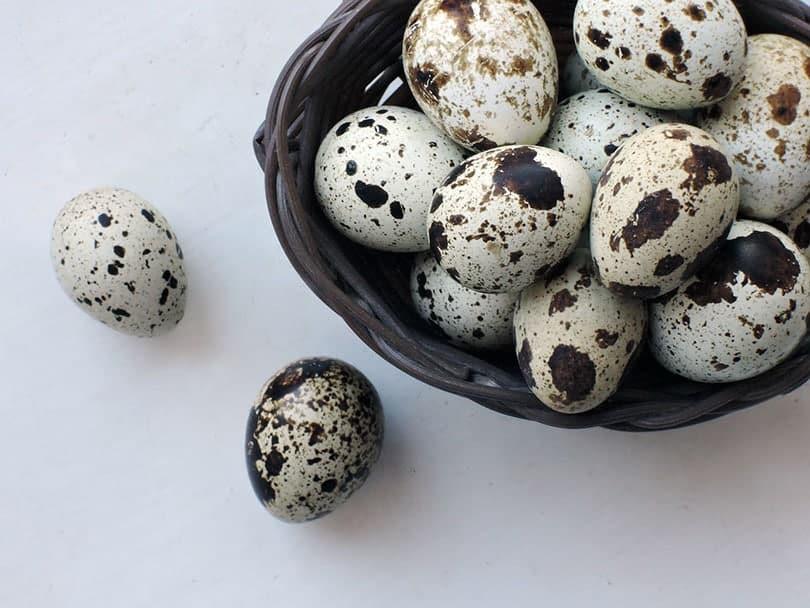
Quail are small, low-maintenance, relatively quiet birds that are capable of producing a large number of delicious high-protein eggs. These easy-care birds do not require a lot of feed or space. This makes them an excellent source of food in diverse environments beyond the barnyard. Best of all, quail do not usually suffer much from the typical diseases that chickens are susceptible to. You can easily and cheaply maintain a flock of quail if you are willing to hatch them and raise them yourself. If you’re thinking about purchasing some fertilized quail eggs, read on to discover all the tips you need, to ensure successful hatching.

The 15 Tips to Hatch Quail Eggs
1. Buy Fertilized Eggs
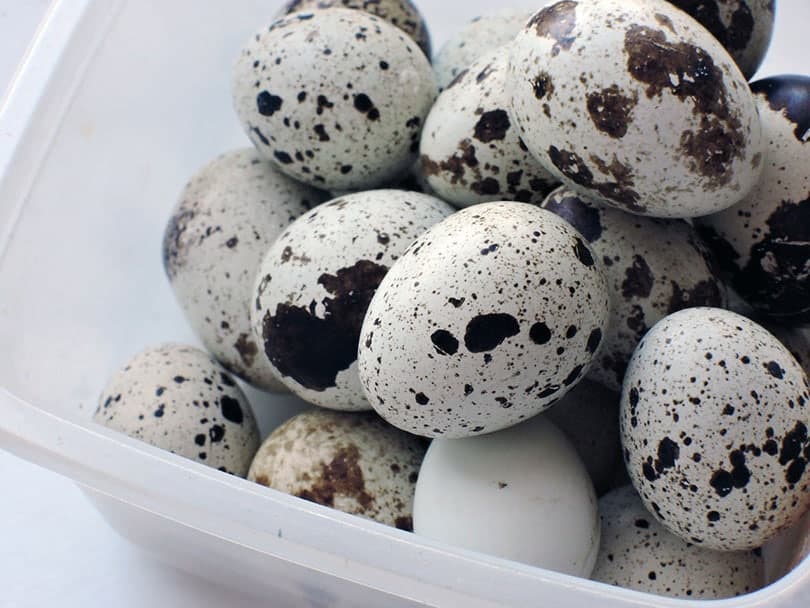
You know buying live chicks can be expensive, and that it’s cheaper to buy viable fertilized eggs and hatch them out yourself. As soon as you’ve got a quail colony going, keeping a few males can help you produce your own fertilized eggs to hatch out the next generation of quail. You will want to avoid inbreeding: inbred birds tend to be unhealthy, with low hatch rates for eggs and high death rates for hatchlings. To avoid inbreeding, introduce and hatch out a new batch of fertilized eggs every so often.
2. Buy Your Eggs Locally if Possible
It’s best to buy fertilized hatching eggs from a reputable source. A great way to acquire hatching eggs is to find a local quail breeder with a good reputation. This is because locally sourced fertilized eggs will not undergo the bouncing or damage that can occur during shipping. However, if you can’t find them locally, you can always order them online from trusted hatcheries. They will endeavor to ship them carefully and treat them as gently as possible. Be aware that any damage from fluctuating temperatures, improper handling, or other problems during shipping may cause some of your eggs to fail to hatch.
3. Purchase a Good Commercial Incubator
If you purchase a good, commercial incubator with an automatic turner, hatching quail eggs is generally quite easy. Although many people try to build their own incubators and turn eggs by hand, this never works as well as a commercial incubator. Turning eggs by hand takes a long time, especially if you are handling dozens of eggs, up to five times per day. Don’t buy an incubator for chickens: the rails of a standard chicken incubator will be too large to hold dainty quail eggs. Look for a model with an air circulating fan and a digital thermometer.
4. Buy Some Gravel Paper
Not all hatchlings make it, and one of the common reasons for culling quail chicks is splayed legs. This occurs when young chicks fall and dislocate their hips. To address a slippery surface, line both the brooder and the incubator with gravel paper. You can purchase gravel paper at most pet supply stores. If you can’t find it, you can go to the hardware store and buy some coarse sandpaper or try using grippy shelf-liners.
5. Take Care When Setting Up Your Incubator
At least two days before your eggs arrive, start your incubator. Give yourself 48 hours, to allow the incubator to reach the required, stable temperature of 100 degrees and a humidity level of around 45 percent. Be sure to calibrate your thermometer, before you begin using your incubator. Even a couple of degrees off can make a big difference to the health of your hatching eggs.
6. Allow Eggs To Sit For A While
Upon arrival, most people feel tempted to place their eggs into an incubator immediately. However, letting the eggs sit quietly at room temperature for several hours may increase hatching rates. Unwrap your eggs and place them point down in an egg carton as soon as you receive them. They need time to recover from the movement and temperature variations that occur during transportation. Any damaged air cells should be able to settle and repair themselves during this time.
7. Set Reminders & Prepare Your Brooder Early
With an automatic incubator it is easy to walk away and forget your quail exist. You will want a reminder to set your brooder up in plenty of time before your eggs begin hatching. Set a reminder for 15 days, at which point, put the incubator into hatch mode and get your brooder ready. Then you’ll need to set another reminder for day 18 so you can watch the chicks hatch and move them to the brooder as necessary.
8. Keep A Watchful Eye On Temperature During Incubation
Check the temperature of your incubator daily for best results: a low temperature can stunt chick growth, while a high temperature can kill them. Additionally, the temperature in the incubator may increase as the chicks grow inside the eggs. A digitally-controlled incubator will automatically regulate the temperature for you if fluctuations do occur. A digital read-out will also make it easier for you to keep track of the conditions inside the incubator. You may also want to keep an additional thermometer in the incubator as a fail-safe.
9. Skip Candling
While it’s certainly fun to candle eggs to see how they’re doing, the risks it introduces aren’t worth the effort. Only open the incubator if you need to add more water to maintain the ideal humidity level. The conditions within the incubator are disturbed every time you open or close it. Additionally, because quail eggs have a thick, mottled shell when you hold them up to a candle, it’s difficult to see the emerging chick inside, making the whole exercise pointless.
10. Take Care When Locking Down the Incubator
The lockdown period lasts from day fifteen until the chicks hatch. It is especially important not to open the incubator during this time. This is a crucial period for your eggs. Any sudden drops in temperature or humidity can cause the membrane inside the egg to tighten and make hatching difficult for the chick. Take your time when you adjust your incubator settings and lock it down for hatching. Set the incubator’s humidity to 65 percent. Instead of adding a lot of water at once, add small amounts of warm water until you reach the right humidity. Once the humidity has stabilized, reduce the temperature to 98 degrees. Once everything is stable, carefully remove the eggs from the egg turner. Then, take out the egg turner assembly. If you do not, your chicks could get stuck and become injured or die. Use gravel paper to line the incubator, then lay the eggs on their sides on the gravel paper inside the incubator, one at a time. If you really want to candle, you can do so while locking down your incubator on day 15.
11. Be Patient
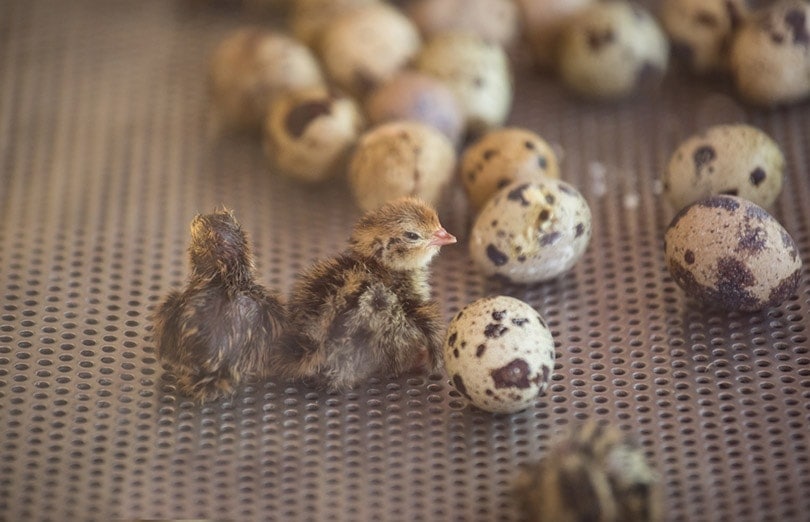
Waiting for hatch day is exciting and a little nerve-wracking. Quail can hatch any time after day 15 through to day 25. That said, most will hatch between days 16 and 18. If you hear tiny cheeps coming from your eggs, that means your quail are getting ready to begin breaking open their shells. Most chicks will poke a hole in their shell and then hatch out within a day, although it’s not a problem if it takes a little longer. In hatching large numbers of quail, you may face a tricky moment when some quail have hatched and others have just poked holes in their shells. This is because opening the incubator can drop the temperature and humidity, drying and shrinking the membrane within the unhatched eggs. If this happens, it will restrict the motion of the chicks inside and make it very difficult for them to break out. It is better to leave the first hatched baby quails in the incubator until most of the quail hatch. You can typically leave the hatchling in the incubator for up to 30 hours. At that point, move all of your hatched birds to your brooder.
12. Helping With Hatching Is Okay
Chicks get trapped in their eggs sometimes. If your baby quail has broken through its shell but hasn’t separated from it, it is okay to remove that egg when taking out your other hatched birds. Carefully peel back the shell and membranes from the chick’s body with a pair of tweezers and place the chick in the brooder with the other hatchlings.
13. Give the Chicks a Variety of Temperatures Within the Brooder
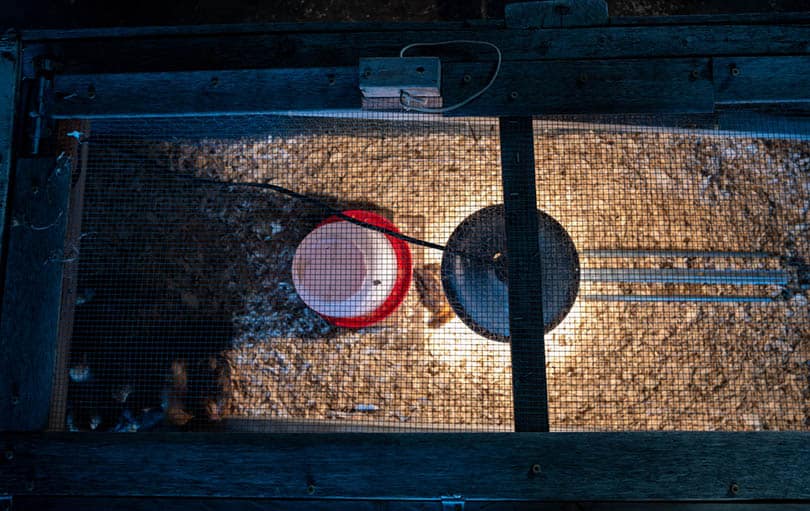
After locking down your incubator, it’s time to set up your brooder. Quail hatchlings need heat. Traditionally, quail have been raised with heat lamps. You can also add pet heating pads set at 100 degrees in different corners of the brooder. Using heating pads in combination with a heat lamp set to 105 degrees allows the chicks to find the sweet spot that is just right for them. Remember if you are using heating pads, to cover them with gravel paper or another type of bedding. You can remove the heat lamp after the first week of brooding, and turn the heat mats off around three weeks later.
14. Make Sure Your Brooder Is Adequate & Secure
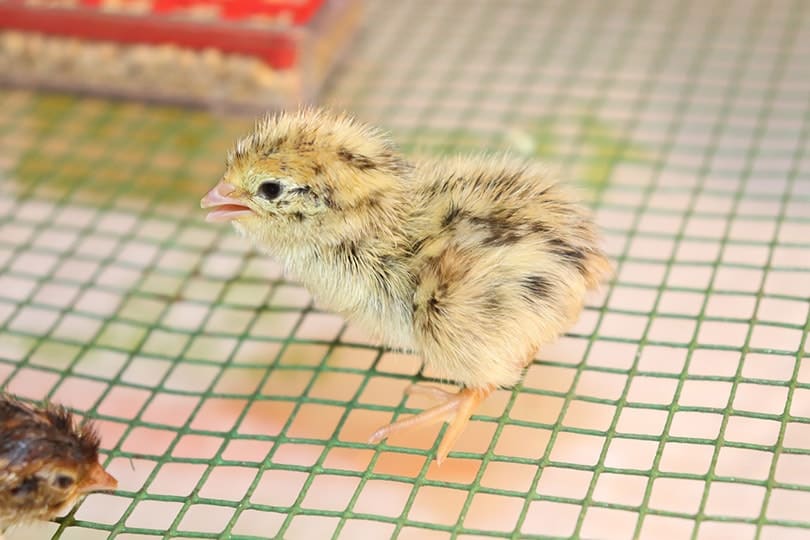
Newly hatched quail chicks are tiny and can fit through the smallest openings. Make sure your brooder doesn’t have any cracks they can escape through. Once they leave the warmth of the brooder, they may die quickly of hypothermia. Many people use a smaller initial brooder and a larger one for when their chicks grow. Your brooder doesn’t have to be fancy: you can raise quail in a large cardboard box or plastic storage bin. You should also remember that new-hatched quail grow incredibly quickly. It’s best if your brooder has at least 6 square inches per hatchling. Unfortunately, even with the greatest care, it is normal to lose a few chicks out of a large hatch. If this happens, be sure to remove them from the brooder promptly.
15. Grind the Baby Quail Food Crumbles
Quail babies should be fed high-protein game bird food which can be ordered online. This food usually comes in large chunks called “crumbles”. These pieces are too big for chicks to eat. During the first two weeks of brooding, crush the game bird food with a cheap coffee grinder. When the quail are small they can manage the powder. As they grow larger, they can progress to the crumbles.

Why Should I Raise Quail?
Unlike chickens, which need a lot of space, even city dwellers can raise quail. As many as two dozen quail could be housed in three stacked cages—easily fitting into a garage, a backyard, on a balcony, or even a closet. In addition, quail lay more eggs than chickens and reach butchering size in just a few months. In terms of productivity, a dozen laying quail hens will produce the equivalent of three chicken eggs each day.
What Temperature Settings Should I Use When Hatching Quail?
Incubation temperatures for quail eggs are similar to those for chicken eggs. In a still air incubator, aim for 102 degrees whereas the ideal temperature for a forced air model incubator is 100 degrees.
How Humid Should My Incubator Be?
When you’re incubating quail eggs, humidity is your enemy: generally, the less moisture the better. However, if you live in a very dry location, you may want to consider upping the humidity, keeping it to around 45 percent for the first fifteen days. Incubators can be made humid by adding water to their channels, inserting a damp sponge, or by adding a stand-alone humidifier. Use distilled water to minimize the growth of bacteria or pathogens. Heat your water until it feels warm, but not hot. Adding warm water will prevent sudden temperature changes. Keep the incubator’s temperature and humidity stable by not opening it up more than is strictly necessary.
Should I Turn My Quail Eggs?
If you don’t have an egg turner you will need to manually turn the eggs at least three times a day, preferably five times. Marking one side of each egg with an X and the other side with O will help you confirm that you’ve turned them all. We highly recommend buying a commercial incubator with an automatic egg turner, especially if you intend to hatch quail eggs regularly.
How Do I Float Unhatched Eggs?
The chances of your remaining eggs hatching go down after day 18, but some may still make it. We recommend waiting, but alternatively, you can perform a float test with some or all of the unhatched eggs. Float the unhatched eggs in 99 degree water. An egg that still has air in it will float on the surface: the baby quail inside may still hatch. If the egg sinks, it has no air supply inside. You can discard the eggs which sank and return the floating eggs to the incubator.
How Warm Should My Brooder Be?
Ideally, you should start your brooder at around 100 degrees fahrenheit. You can adjust the temperature of the brooder based on your chick’s behavior. If chicks congregate near the heat source, that indicates that the temperature is too low. If the chicks tend to settle around the edge of the hottest area, the temperature is about right. It is important to keep chicks protected from cold drafts, especially at night. Invariably, failure to provide adequate heat during the early days of the brooding period will result in a higher rate of morbidity for your hatchlings.
What Sort of Bedding Should I Provide For My Baby Quails?
A few layers of paper towels make great bedding for the chicks during the first few days. Adding paper towels makes it easier to see, clean, and remove chicks more easily. Pine shavings or some other bedding may be added to the brooder after the first few days.
- Related Read: Can You Hatch a Store-Bought Egg?
Featured Image Credit: AnnTS, Pixabay
