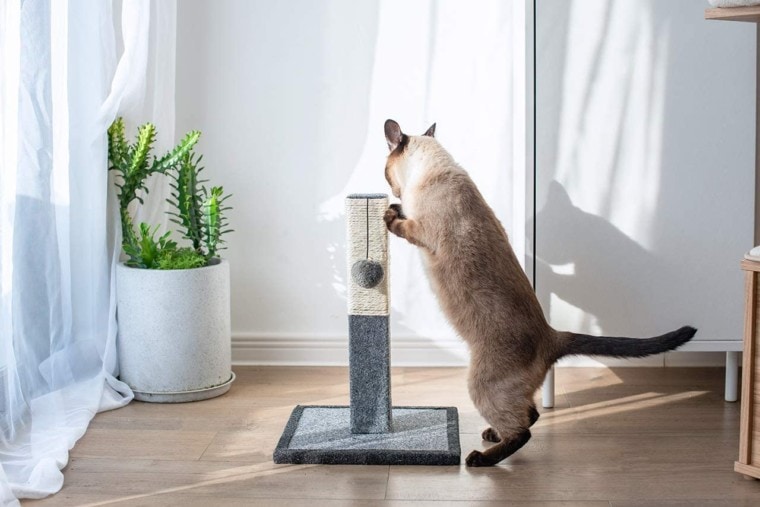
Scratching is an instinct for your cat. If you don’t provide a scratching post for them, they may improvise and use other surfaces, such as your couch, carpet, or pillows.
Cats enjoy scratching posts made of rough materials that provide a challenge. Scratching posts can be pricey, though, especially if you need to get more than one.
If you want to make your own, you can create an excellent scratching post with a log and plywood.
Supplies You’ll Need
The most important supply you need for your scratching post is a tree log made of oak, redwood, or maple. If possible, look for logs that have the bark intact, which provides a more versatile scratching experience for your cat.
How to Make a Cat Scratching Post From a Log
1. Measure Your Cat Scratching Post

Before you start your build, you must decide how tall and wide your scratching post will be. Ideally, your scratching post should be as tall as your cat is long, from nose to tail. This ensures it’s tall enough for your cat to stretch. You can make it taller if you wish.
You should also measure your scrap wood. The wood base should be at least 16 inches square, but you may want a larger base to provide a more horizontal scratching surface. If your log is tall, consider making the base bigger to support it and keep it sturdy.
2. Cut and Sand Your Pieces

Once you know how tall you want the log to be, cut it to size. Measure and mark your log to ensure you’re cutting it to the right length.
The edge that will rest on the base should have a clean, straight cut. Make sure the log stands up straight on its own without tipping over, which can be a hazard for your cat.
You can also cut the base to size or have it precut at a hardware store. Sand the edges until smooth to reduce any risk to your cat.
3. Drill Holes

Using a ruler or straight edge and a pencil, draw diagonal lines across the plywood, intersecting in the center. This is where your log will go.
Then, mark two screw locations according to the diameter of the log. You can add more screws for security, but two should be enough to keep your log secure. Avoid putting them too close together or too close to the edge of the log.
When you’re satisfied with the placement of the holes, then drill pilot holes.
4. Place the Carpet

Place your carpet remnant over the base, folding it down around the edges. If you’re using a staple gun, staple the carpet to the underside of the base.
If you’re using double-sided tape, place it on the base and remove the backing. Then, place your carpet on top, pressing down to get a good bond.
5. Attach the Log

Once the carpet is secure, flip the base over and partially drive two wood screws through the pilot holes. You want just the tip of the screws to be visible through the carpet on the upper side.
Flip the base back over so the carpet and screws are on top. Center the log over the base, then turn it back over to the underside. Drive the screws the rest of the way into the log to secure it to the base.
Enhancing Your Scratcher
Your rustic log scratcher is plenty of fun for your cat, but you can make it even more exciting with a few simple touches.
If you want to give your cat varied surfaces, you can use sisal rope on the bottom portion of the log. Simply staple the sisal rope at the base of the log (where it meets the carpet), and wrap it tightly around the log. Keep wrapping until you have the desired portion of the log covered, then staple the end. Trim the remaining rope. Make sure the staples are done vertically, which prevents your cat from ripping them out when they scratch.
If your cat is especially feisty, you could also make your scratching post sturdier by securing it to the wall.
Conclusion
Scratching posts offer excellent enrichment for your cat by exercising their natural instincts, relieving tension, and maintaining their claws. If you want to make a custom scratching post yourself, rather than buying one, a log offers a sturdy option with rustic appeal for you and a texture that your cat will love.
Related Cat Reads:
Featured Image Credit: Catry Cat Scratching Post, Amazon


