If you’re a reptile owner or enthusiast, you know the cost of replacing mealworms. It can get pretty pricey, mainly depending on how many critters you’re feeding. Since mealworms can be replenished so quickly, many people find it’s cheaper to breed them at home.
If you’re looking to make a mini mealworm farm, let’s figure out how to create an excellent habitat for these larvae—and how to care for them as adult beetles, too. It’s cheaper and easier than you might suspect!
Life Cycle of Mealworms
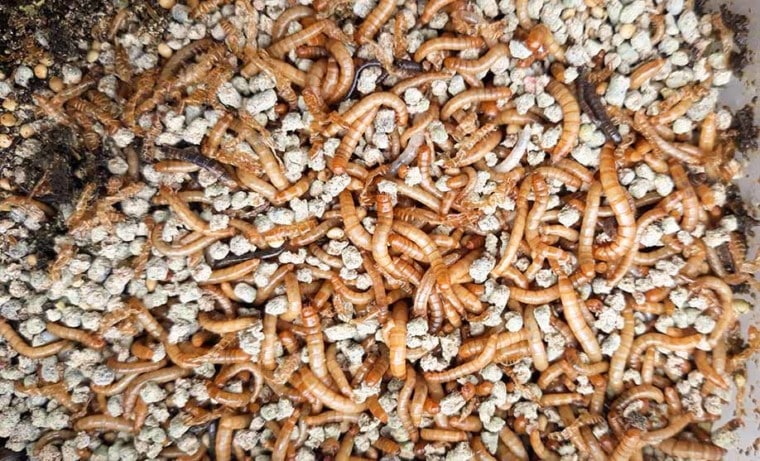
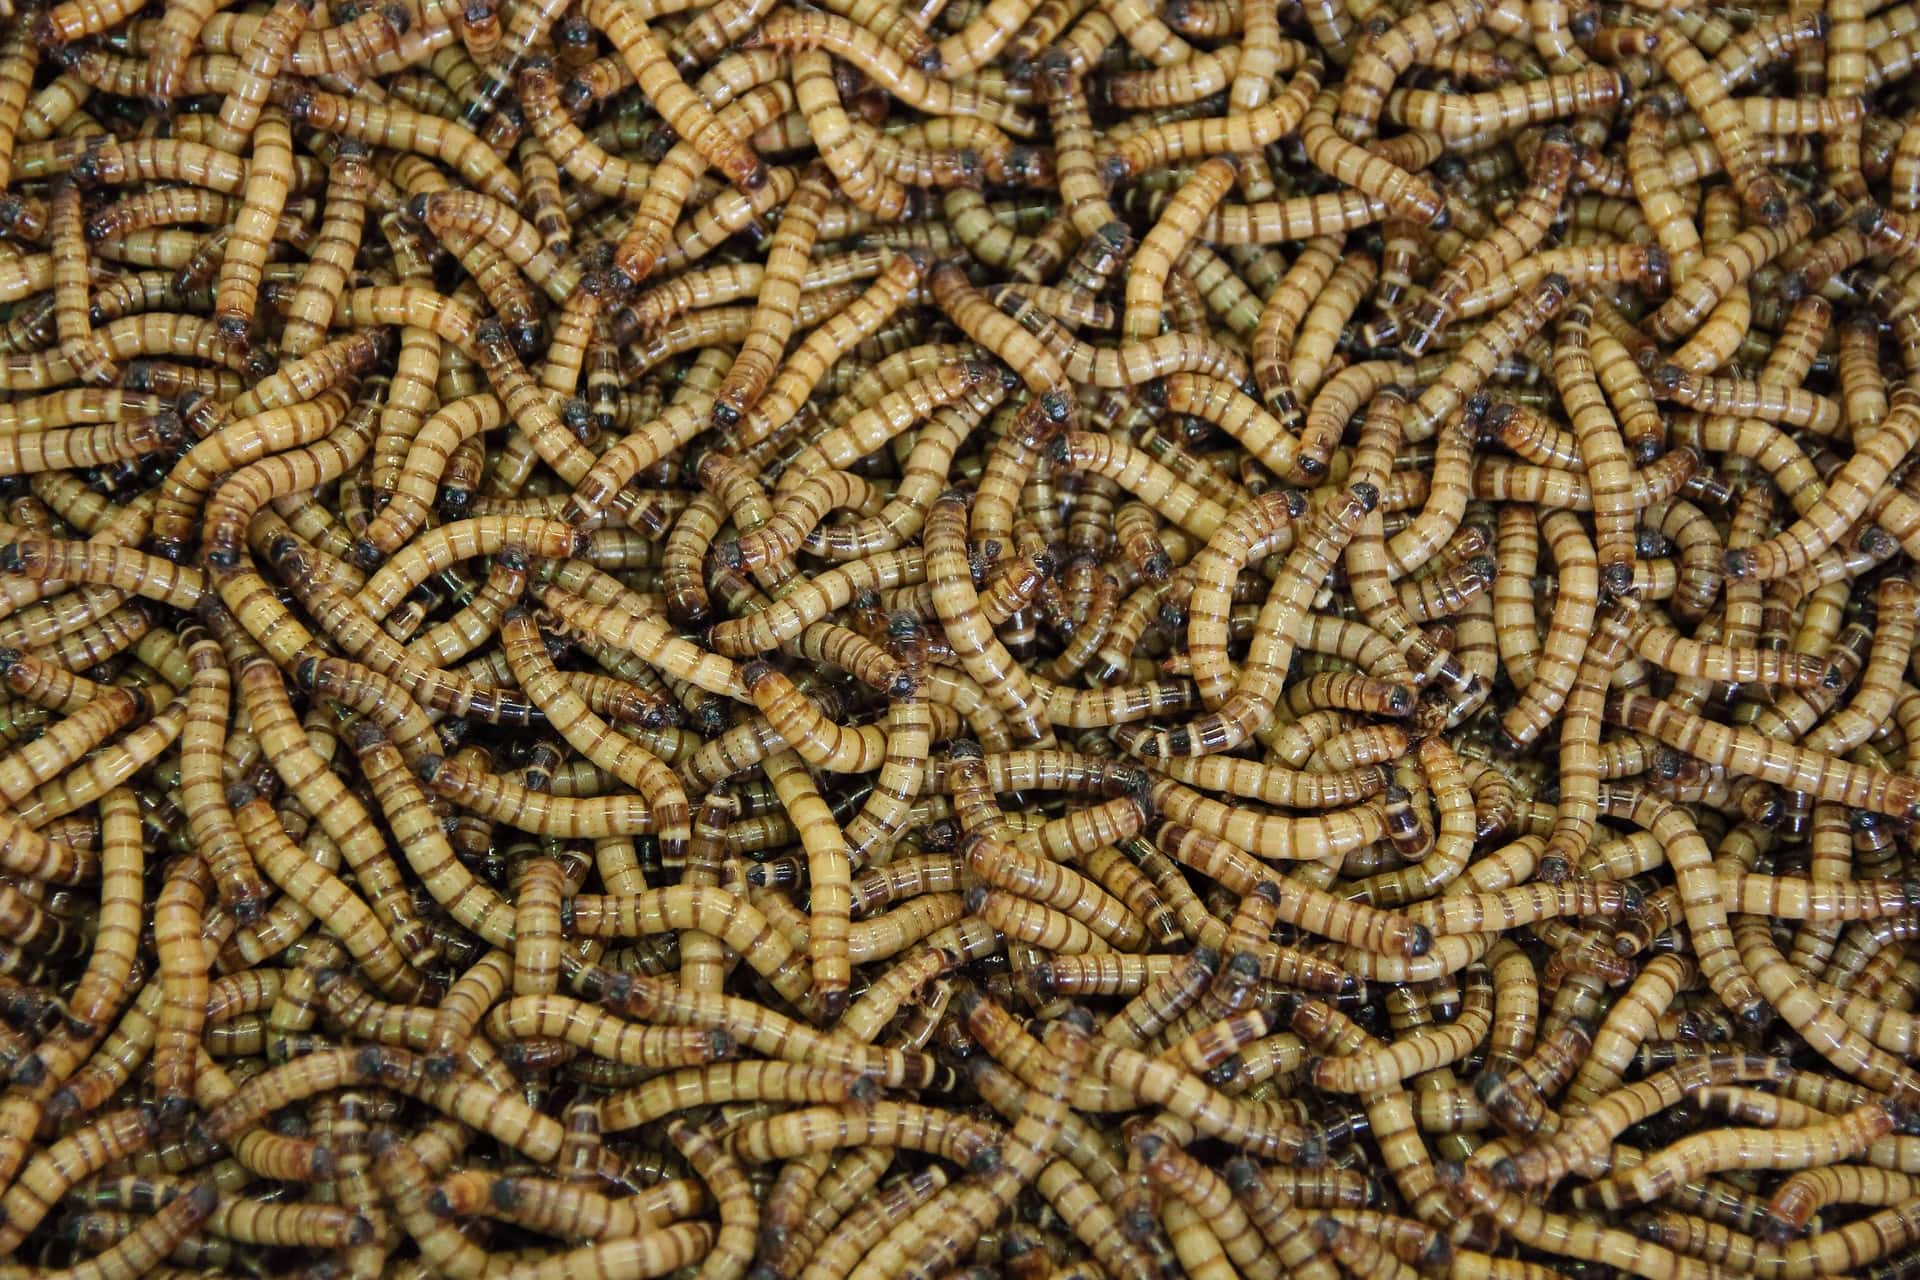
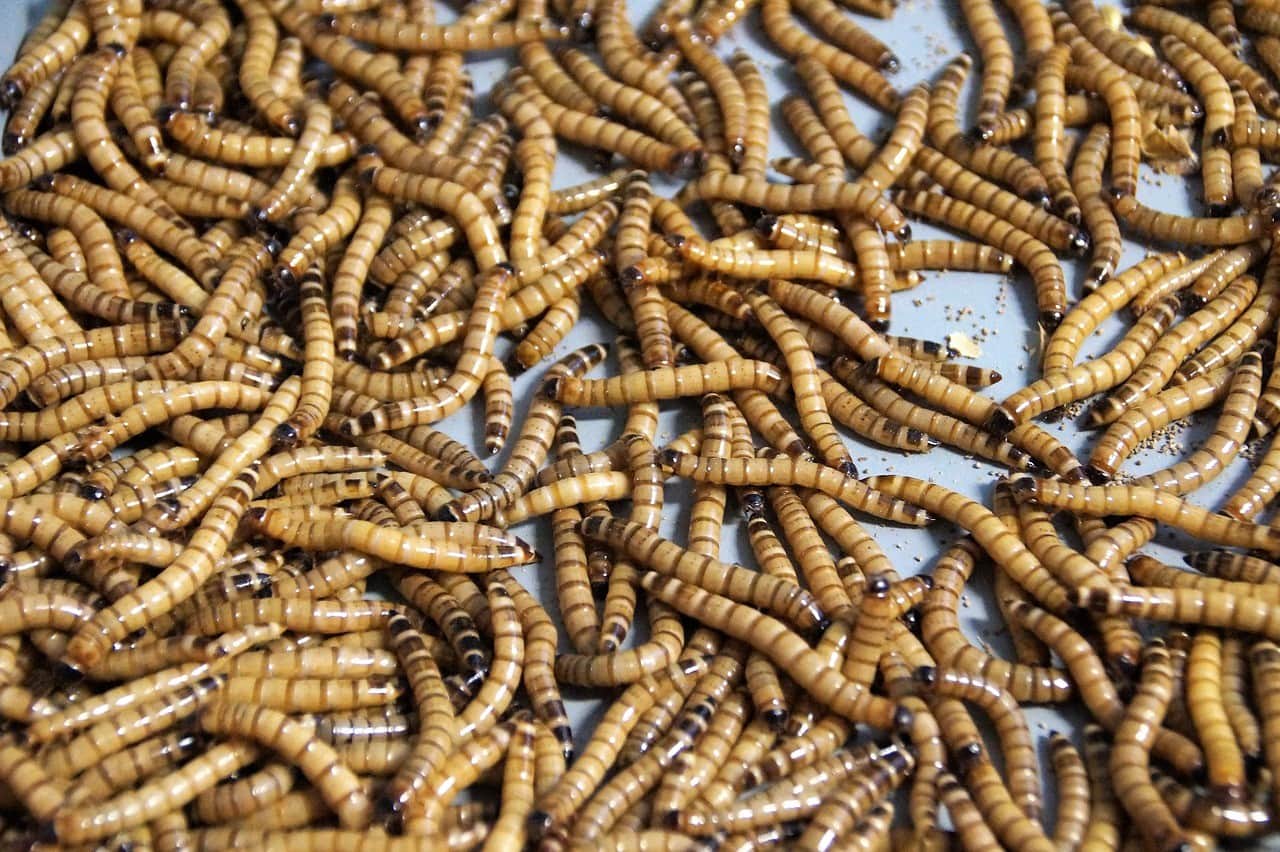
When you get mealworms from a pet shop, they are in a larval phase of life. They still have quite a metamorphosis ahead. When you bring home your mealworms, you notice that they have six short legs upfront with long, tough exoskeletons.
After two weeks, these larvae worms begin to switch to the next phase of life. As mealworms develop rapidly, they shed their exoskeleton several times during the process.
After a few months, they begin to take on a shorter, softer appearance while switching to darkling beetle form. It’s best not to disturb them at this stage, as they go into a less active period and become vulnerable to handling.
These beetles can reproduce quite quickly once they reach maturity. Adult darkling beetles can lay up to 500 eggs per clutch. Mealworms stay in the larvae phase for several months before any further transition.
When you see “mealworms” and “super worms” at the pet store, there is really no distinction aside from their larval phase. So, buying larger “super worms” might actually fast-track your colony since they will be ready to reproduce quicker.
 The 11 Steps to Raise Mealworms
You don’t need a lot to get things started. Mealworms are relatively easy to care for, especially when you get into the swing of things. Startup costs are minimal, and you can reap the results in no time. Let’s dig right in.
1. Get a plastic storage bin.
A regular plastic tote bin from a local store will do for this step. You don’t have to get fancy, although you can buy ones with lockable lids if you prefer.
You can poke tiny holes in the lid to create adequate airflow. But since these little worms can escape through tiny spaces, never poke holes on the sides.
If you are only buying one container of mealworms containing 25 to 50 counts, a small tote will suffice initially—and it should be wider than it is tall. We recommend going up sizes or having multiple totes as your colony grows so you can keep mealworms of the same phase together.
2. Line the bottom.
It would be best to use bran flakes or whole oats to line the bottom of the bin. You can make the substrate one to 2 inches thick. Mealworms feed on the grain, deriving necessary nutrients for growth. Also, they love to dig around and bury themselves inside too.
The larvae prefer dark, dusty grain—comparable to a bag of chicken feed—where they are out of sight.

3. Offer raw potato.
Mealworms definitely won’t run you dry in terms of diet. All you need to do is cut up a raw potato to get food and water from this source. Potato is a great way to get things started—but you can make the diet more intricate as your colony grows.
4. Place worms into the bin.
Once you have burrowing matter and food for your mealworms, you can add them into the mix. Mealworms like moderately warm environments, so keep them away from drafts and cool places.
5. Replace potato every few days.
To prevent mold, remove the old potato every few days and replace it with a freshly sliced piece. You won’t want the container to grow any mold, as this can negatively impact your colony.
6. Watch for transformation.
Around 2 weeks after you bring home your mealworms, they will start to transform into beetles. When they enter the pupae stage, they shorten, become soft, and inactive. Their bodies are working hard to push them to the final stage of life—full darkling beetles in action.

7. Breeding can happen once beetles fully mature.
Once your darkling has reached adulthood after 1-2 weeks, they are naturally prone to reproduction. These prolific breeders can lay over 500 eggs in their lifetime.
8. Wait for the mealworms to hatch from eggs.
Beetle eggs are nearly microscopic to the untrained eye. These eggs take between 4 and 19 days to emerge. Once they do, you might not notice them for the first several days unless you really dig.
9. Understand the life cycle of your beetle.
Beetles reproduce quickly, but they also have short life cycles. On average, darkling beetles live about 1-2 years. However, once they reach maturity and reproduce, their health generally wanes gradually thereafter.
10. Keep life stages separate according to their current phase.
Once you start developing your colony, it will be time to separate the mealworms according to their life stage. It’s ideal to have one container for eggs, larvae, pupa, and adults. That will keep each phase separate from the other to promote optimal growth and successful hatching.

11. Finally, you’re establishing a colony.
It won’t take many cycles before you have a substantial colony and supply. Darkling beetles lay up to 500 eggs. If you have multiple females capable of reproducing in your first batch, you will likely have all you need to keep going.
You must keep up with regular maintenance and monitor your mealworms often. Address any issues and make sure to keep their environments clean and draft-free.
Importance of Mealworm Nutrition
When you’re feeding your pets, mealworms are a huge nutritional building block. The more variety you offer the mealworms, it will benefit your animals. Think about it like this—the better your mealworms eat, the better your pets eat, too.
Mealworms will munch on just about anything you feed to them—as they are omnivorous. However, you want to steer toward healthy options that will improve overall quality.
Note: Avoid high phosphorus foods found in meat, nuts, and beans.

Selling Mealworms
If you are a hobbyist, you might want to get into the business of mealworm selling. Since they reproduce so quickly, you probably can get a stock built-up—but is it worth it?
You can probably make a nice cut of side cash—if you have the marketing skills you need. But, as you’re well aware, buying mealworms isn’t cheap, especially when you have a voracious eater.
Usually, mealworms are counted and sold in bulk to buyers. However, you can arrange them in any way you choose and price them accordingly.
Even though you might be able to make some side cash, you have to consider the costs associated with breeding. For example, you’ll need containers, labels, and care supplies to get your side hustle started.
As long as you are up for the task, selling mealworms can be a profitable niche.
Who Are Your Buyers?
If you start to build a clientele, expect business from the following pet owners:
If you, yourself, have been a buyer, you know just how costly that can be. But if you own certain species, it’s a necessity. So, your business should stay pretty steady if you find the right market.
Final Thoughts
Raising mealworms is much easier than you might think at first. All you need is an inexpensive substrate that serves as nutrition and bedding. Monitor your mealworms to make sure they are transitioning as they should. Remove any dead sheds or debris daily.
Once you start your colony, you will have enough supply to continue to self-sustain. Just remember to keep up with minimal maintenance and learn to price your supply accordingly.
You May Also Like:
Featured Image Credit by: Faiz Dila, Shutterstock


 The 11 Steps to Raise Mealworms


