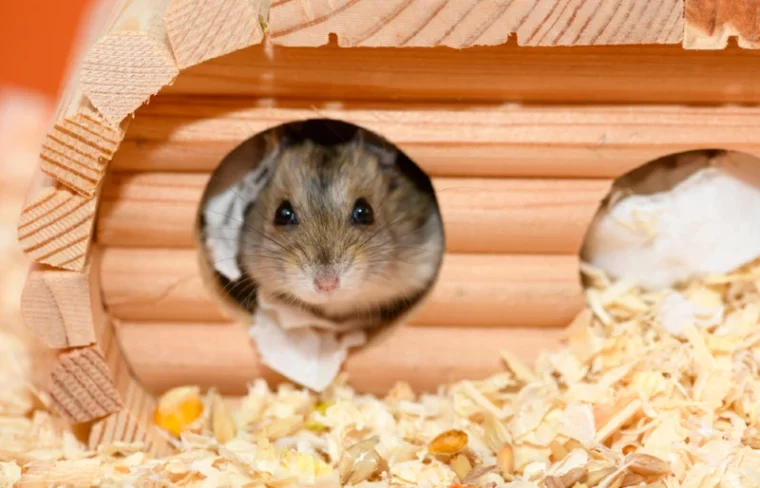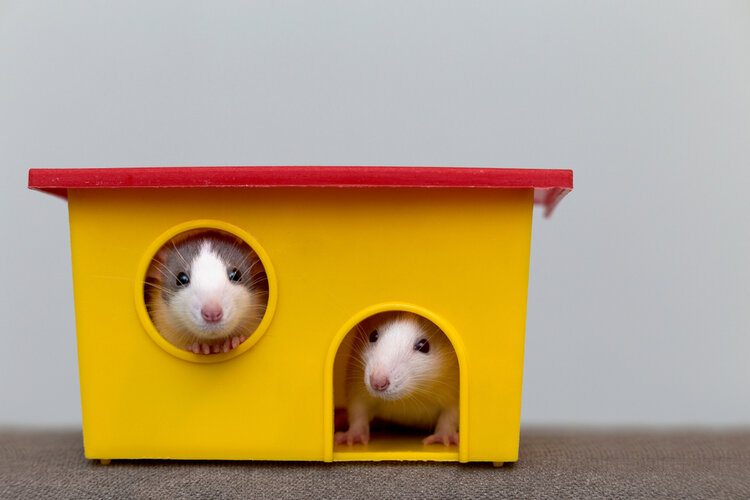
Since hamsters are relatively new as pets, they have retained many instincts that come from being a prey species. One of these automatic responses is hiding. Hamsters are burrowing animals. These underground structures provide critical cover, providing protection when they’re most vulnerable while they sleep.
You should replicate these features in your hamster’s cage to make them feel more secure. These animals also cache food in their burrows. Undoubtedly, you’ve noticed your pet hamster does the same thing. So, making a DIY hamster hideout is an excellent way to provide security and enrichment for your pet.
The 15 DIY Hamster Hideouts
1. Fancy Mystery Shack
| Materials: | Balsa wood, graph paper |
| Tools: | Pencil, ruler, scissors, awl, box cutter, cutting board, sandpaper, painter’s tape, glue, marker, paint |
| Difficulty Level: | Moderate |
Beautiful isn’t the first word that comes to mind when thinking of a hamster hideout. Yet, that’s an apt description for this one. It’s a kid-friendly project, especially if your child wants to get creative with the design. Balsa wood is the base. It uses an interesting technique with painter’s tape and glue to keep the joints straight and add to the strength of the design.
2. Simple Hideout
| Materials: | Cardboard, glue, painter’s tape, hay, non-toxic paint |
| Tools: | Pencil, Exacto knife, soup bowl, scissors, paintbrush |
| Difficulty Level: | Easy |
This hay-covered hideout is easy to make. The only challenge is ensuring even cuts of the right size so everything comes together. We love the idea of the covering. It’s both aesthetically pleasing and probably tasty for your hamster when it gets around to chewing it. The beauty exists in how easy it is to make.
3. Hamster Camper

| Materials: | Pallet, plywood, non-toxic paint, PVA glue |
| Tools: | Sander, drill, marker, ruler, paintbrush |
| Difficulty Level: | Advanced |
If you want a theme for your hamster hideout, you can’t go wrong with this cute camper. Admittedly, it’s an advanced project only because of the tools you’ll need to complete it. However, it’s worth the time and effort since it’ll last longer than the cardboard hideouts. You can go retro and paint it with Volkswagen colors or make it yours with your own design.
4. Balloon Hideout
| Materials: | Twine, toilet paper roll, balloon, wood glue, scotch tape |
| Tools: | Scissors, small saucer, paintbrush |
| Difficulty Level: | Moderate |
This balloon hideout gets props for creativity. Undoubtedly, the materials list had you scratching your head. We like this project because it’s like many we see for sale online. It’s not difficult, but it’s more time-consuming with the downtime while the glue dries. Your hamster will like the different texture it brings to its cage, though.
5. Natural-Looking Burrow
| Materials: | Cardboard, PVA glue, plastic wrap, paper towels, non-toxic paint, painter’s tape |
| Tools: | Pencil, ruler, scissors, or box cutter |
| Difficulty Level: | Moderate |
This natural-looking burrow is an excellent choice if you want something that fits in with this theme and doesn’t scream out fake. This project involves more work and downtime for things to dry. However, we think it’s worth the effort for a piece that looks like it was plucked out of the woods. It includes cutting and gluing all the pieces. The magic comes from the paper mache, which adds texture.
6. Repurposed Box
| Materials: | Cardboard box, cardboard strips, glue, wood shavings |
| Tools: | Scissors, box cutter, pencil, tape measure, wood plank, paintbrush |
| Difficulty Level: | Moderate |
Many products come in elaborately crafted boxes that seem a shame to waste. This project takes them to the next level with a hamster hideout. We love the idea of repurposing them for something so useful. You can create your own interior floor plan inside the box with cardboard strips to make exploring it more interesting for your hamster.
7. Popsicle Stick House
| Materials: | Popsicle sticks, PVA glue, string |
| Tools: | Scissors, box cutter, sandpaper, pencil, ruler |
| Difficulty Level: | Moderate |
This DIY popsicle stick house is so cool, especially in the theme as it’s presented. Pirates and the sea couldn’t be better subjects that just have to make you smile. Popsicle sticks are an excellent building material because they’re usually the same size. That cuts down on the work. The fun part is creating the design. You can make it as elaborate as you want to fit your pet’s cage.
8. DIY Shoebox House
| Materials: | Shoebox, non-toxic paint |
| Tools: | Scissors, pencil, box cutter, paintbrush |
| Difficulty Level: | Easy |
This hideout is on the other side of the spectrum with something simpler and easier to make. It’s an excellent way to repurpose shoeboxes that are often sturdy and provide a solid base. A light coating of paint gets rid of any branding and allows you to customize it for your hamster. Of course, you can take it to the next level with rooms inside the box.
9. Luxury Hamster Hideout
| Materials: | Wood pieces, PVA glue, metal rods, wood doll rods, nails |
| Tools: | Pencil, ruler, miter saw, file, paintbrush, protractor, drill, hammer |
| Difficulty Level: | Advanced |
This hideout could be your hamster’s summer home or its luxurious top-of-the-line living quarters—you decide. It’s probably more advanced than most pet owners who desire. If you have the time and skill, it’s a worthwhile project, even if your hamster will chew it up over time. It has a lot of extras for enrichment, including a hamster wheel.
10. Hamster House
| Materials: | Wood planks, shims, chalk paint, PVA glue, doll rod, wood slats, screws, plexiglass |
| Tools: | Ruler, pencil, paintbrush, drill |
| Difficulty Level: | Advanced |
This hamster house is enticing because it looks so cozy. This hideout can be a cage if you make it big enough. The open top ensures plenty of air circulation for a healthy living environment for your pocket pet. However, you can use the design elements of this plan and fit it to size. Depending on how complex you want it to be, it can involve a lot of cutting.
11. Pineapple House
| Materials: | Non-toxic paint, modeling clay, non-toxic glaze, plastic wrap |
| Tools: | Paintbrush, clay cutter, palette knives, wire scorer |
| Difficulty Level: | Advanced |
Some hamster hideouts are more for us to admire than our pocket pets. This one is a classic example that’s still functional. It is an advanced project since you’re creating the hideout from scratch with modeling clay. That gives you the freedom to make it as you please. It will take longer to finish because of all the drying time, however.
12. Hamster Playground
| Materials: | Paper, newspaper, glue, flour, salt, water, cardboard boxes, paper rolls |
| Tools: | Marker, scissors, ruler, fork, measuring cup, pot |
| Difficulty Level: | Moderate |
This hideout is more than just a place to hang out for a while. It’s a playground to explore and enjoy. You can think of it as a freestyle project. Use the supplies you have on hand to create a habitat that fits your space. You can mix things up with different-sized boxes and rolls. You can make it high or low. Anything will add interest to the finished product.
13. Hamster Habitat

| Materials: | Paper towel or toilet paper rolls, cardboard, glue |
| Tools: | Scissors, Exacto knife, painter’s tape, pencil |
| Difficulty Level: | Easy |
It doesn’t get much easier than making this hamster habitat. Your pocket pet will love the chance to burrow through the tubes. You can make it as simple or complex as you like. We’d suggest borrowing an idea from our second selection and covering the completed work with hay for a natural look. The plain cardboard seems too boring.
14. Hamster House
| Materials: | Cardboard, glue, painter’s tape, hay, non-toxic paint, pine cone with seeds removed (optional) |
| Tools: | Pencil, Exacto knife, scissors, paintbrush, clothespin, book |
| Difficulty Level: | Easy |
This hideout is a riff on our second option, with some more details added. It is square like a house instead of round like the other one. Cutting plays a big role in its design and stability. This one uses a clothespin instead of just painter’s tape to hold the pieces in place. A book also comes in handy when gluing down the roof. The DIYer uses a pinecone to create shingles, which is a fun addition.
15. Cheap Cardboard Hideout
| Materials: | Cardboard pieces |
| Tools: | Box cutter or scissors, ruler, pencil |
| Difficulty Level: | Easy |
This project couldn’t be simpler. It’s something your kids can make to get them more involved with their pet’s care. The great thing about it is you don’t need glue to put it together. Instead, you cut slits into the pieces to provide a rigid structure that works even better. You don’t have to follow a set plan, either. You can use what cardboard you have lying around the house. You can also replace it when done in a snap.
Final Thoughts
DIY hamster hideouts offer an excellent way to provide necessary enrichment for your pocket pet. You can go as simple or elaborate as you want. The best thing about them is they minimize the costs. You can also replace it after your hamster has messed it up a bit, which is inevitable.
Featured Image Credit: IRINA ORLOVA, Shutterstock


