Horse fences should be carefully thought through before you start to build. The beauty of having a horse fence is a guarantee that your horses will be safe from unwelcome guests. In addition, a well-built horse fence brings out the beauty of a horse home.
Before building the horse fence, there are things you need to keep in mind. The essence of the fence is to keep your horses safe. But again, if you are running a business, you must consider the value and attractiveness. That means the materials used should not be of low quality.
That doesn’t mean you will build a horse fence without considering the cost. Bear in mind this is a costly project, so it needs to be executed in the best way possible. There are different types of horse fences. Each is crucial, but the one that is ideal is according to the owner.
Some standard fences are made of rail, galvanized and vinyl coated wire, wood, electric, or you can choose to combine all those. The fences should be visible and resistant to damage, especially by horses. Let’s take a look at how this project should be undertaken, including the preparation, plan, building tips, set up, and every detail to do with horse fencing.

Preparation
The first thing is to prepare and have a clear vision of how and where you want your structure to be built. You can consider these points to help you in deciding:
The Ideal Gate

While planning for your horse fence, note that different fences will be put up for specific reasons. For example, we will have fences for pastures, riding areas, exercise paddocks, and securing property lines. Your land topography will influence the look, effectiveness, and how the installation will be done.
Paddock layout must be put up uniquely to make the movement of pastures, hay production, or grazing easier. In addition, the pasture design must incorporate enough space to allow field equipment like mowers, bailing equipment, manure spreaders, etc., to be moved with ease.
Different horse groups should be taken into consideration. We have weanlings, stallions, geldings, mares, and mares with foals. These will have a different kind of fencing since taking care of them is not done in the same manner.
The fence should be high enough to hinder horses from jumping over. Don’t leave any openings because the horses can trap their feet or head. Discourage weak fences that horses can easily knock out.
With a well-thought plan, the fence will stay intact for a long time. Further, there will be a reduction in the time taken to work on the horse farm. That will help the people working have an easier time and work effectively with minimum struggle.
How to Choose Posts
Posts are the most critical parts of a horse fence. They play the most prominent role, so they are supposed to be carefully selected. But since we want our fence to last long, then this is a process that must be taken carefully.
Therefore, when building the horse fence, the preferable posts are driven posts. This is because they don’t need concrete or digging of holes. Wood posts are preferred though they must be treated because they are prone to termites and ants.
A good treatment should be applied, and a point to note is that if the post is created, then the price goes up. But such posts are long-lasting, giving you a service of more than 20 years. So whether you are making board or mesh fences, you can still use wood posts.
But if you opt for other types of fences, you will measure a long distance between the posts. Also, you can choose either round posts or square posts though round ones are strong and bring out uniformity.
Gate Design and Location
A good gate should have a good design, solid and stylish. The gate doesn’t need to be the same as the horse fence. The requirement of a gate is wood posts and metal tubes. You can consider other materials used for construction like fasters, braces, etc.
Gates should be high, just like the horse fence. As we noted, horses can try to jump over, and that may even cause accidents. Have gates that are swinging in and out for more effortless movement of horses.
The ideal place to construct the gate is at the center of the fence. Don’t construct at the corners because horses can easily be trapped. Remember: horses are long-sighted; they can make a mistake and head in the wrong direction.

Planning
Let’s look at some steps that you can use to build a simple horse fence and a gate. The fence is made of wood, and it’s one of the simplest structures you can construct yourself.
Things to Consider
Before implementing the plan and getting the materials, you should consider the following;
Materials Needed

The 3 Steps to Follow When Making a Horse Fence

1. Take Measurements
The first step is to do measurements. Using your tape measure, measure the area where you want to install your fence. In the back of your mind, remember that the fence height matters so that it can accommodate all horses despite their size.
Let the spacing between the posts be minimal to prevent horses from getting stuck. In the long run, it may be expensive, but it will be strong. The distance between the posts should at least be 2 m, whereas the height needs to be 1.5 m high.
Also, examine the ideal point that you want to put your posts. Then use twine to measure the height of the post so that you can determine what height to settle on. The twine should be firm to avoid taking wrong measurements.
After that, you can measure the distance that is between posts with a board cut. Of course, the board must be of the right size. To ensure that the boards from both sides meet at the center, you can arrange them differently.
They should be placed on top of the other, ensuring that the pattern used is in something like a zigzag. Keep alternating the boards to get good results. The good thing about this method is that you don’t need to cut short the longboards.
2. Installing the Posts
To install your post, you will need a shovel. The size of the holes to be dug is determined by the type of soil. If it’s clay soil, let the hole be 3 feet, and if it is sandy soil, the hole can be 4 feet. Give the holes an allowance of 6 inches because of the gravel footing.
You can now start planting your posts. For each hole, consider putting a six-inch layer of gravel. The reason for doing that is to prevent the post from rotting since the water will drain well. After that, take your post and place it at the center of the hole.
Continue with the rest of the post while repeating the same procedure. Ensure that the posts are in a straight line for uniformity purposes. To achieve that, use the string and ensure it is well stretched from the first to the last pole.
If you notice some holes are more profound than others, you can add some more soil. If you have some that are high, then dig the hole deeper. The goal is to make all posts look uniform. On the sides of the hole, you can opt to add some bricks.
The bricks help in the stability of the pole and make it even firmer. Once all the poles are well put, you can now add soil. Note that it is not a must you add soil. You can add cement or even concrete to make your posts studier.
3. Nailing

This is the last step of installing your horse fence. Now that all the posts are installed, the next thing to do is to nail. Take your hammer and start nailing the crossboards. To get the correct measurements on spacing in between the boards, you can use a tape measure.
When you start nailing, you can use a spirit level to determine whether the boards are on a straight line. If you are satisfied, then continue nailing till you are through. The nailing should be tight enough to avoid doing a shoddy job.
The 5 Steps to Follow When Making a Gate
You can use the following steps to construct a horse gate.
Materials Needed for a Wooden Gate
1. Prepare the Poles
Have two poles that are treated. They should measure 2.4 meters long and 1.6 meters above the ground. If your horses are tall, you can increase to 3.7 meters long and 2.4 meters above the ground.
2. Dig the Holes

Dig two holes for your treated gate poles. They must be placed on the space that you had left after building the fence. Plant your poles and then put the concrete. Make sure you put enough to make the poles more stable.
3. Build Your Wooden Gate

Your wooden gate should consist of horizontal bars and vertical beams. Of course, the number should be determined by how you want your gate to look. But in a typical scenario, six horizontal bars and two vertical beams are ideal.
The height of your horse’s gate should reach the neckline of your horse. But if you realize your horses love to jump around, you can make the gate taller. Another thing to note is that the nails and screws should be well tightened to avoid the horses from destroying the gate.
4. Attach Your Gate
Take the gate that you have made and attach it to the post. Use door hinges and drill the screws through them to form a firm stature. Repeat to the other post and ensure they are well fitted. The ideal gate should swing in and out.
5. Attach a Rope
At this step, you can attach a latch or a rope for easier opening and closing of the gate. You can opt to use a chain if you suspect your horse can open the gate. But if you attach the rope or latch properly, there is no cause for alarm.
Tips for Maintaining a Horse Fence
Building a horse fence is not cheap since the cost of wood is high. That calls for proper maintenance to avoid incurring more costs on repairs.
Here are some maintenance tips:
Final Thoughts
Building a horse fence is not a difficult thing. The fence doesn’t have to be wooden, but you can use other materials. We have discussed how to build a horse fence with wood highlighting all the steps to take to achieve good results.
Meanwhile, the secret to a long-lasting horse fence is the care put in. Avoid using old materials for building and when nailing on the posts, tighten the nails. That will make the wood more stable, thus giving you a long service.
You might also be interested in:
- How to Install an Electric Fence for Horses (Step-By-Step Guide & Tips)
- 6 Types Of Horse Fencing: Which Is The Best One? (Pros & Cons)
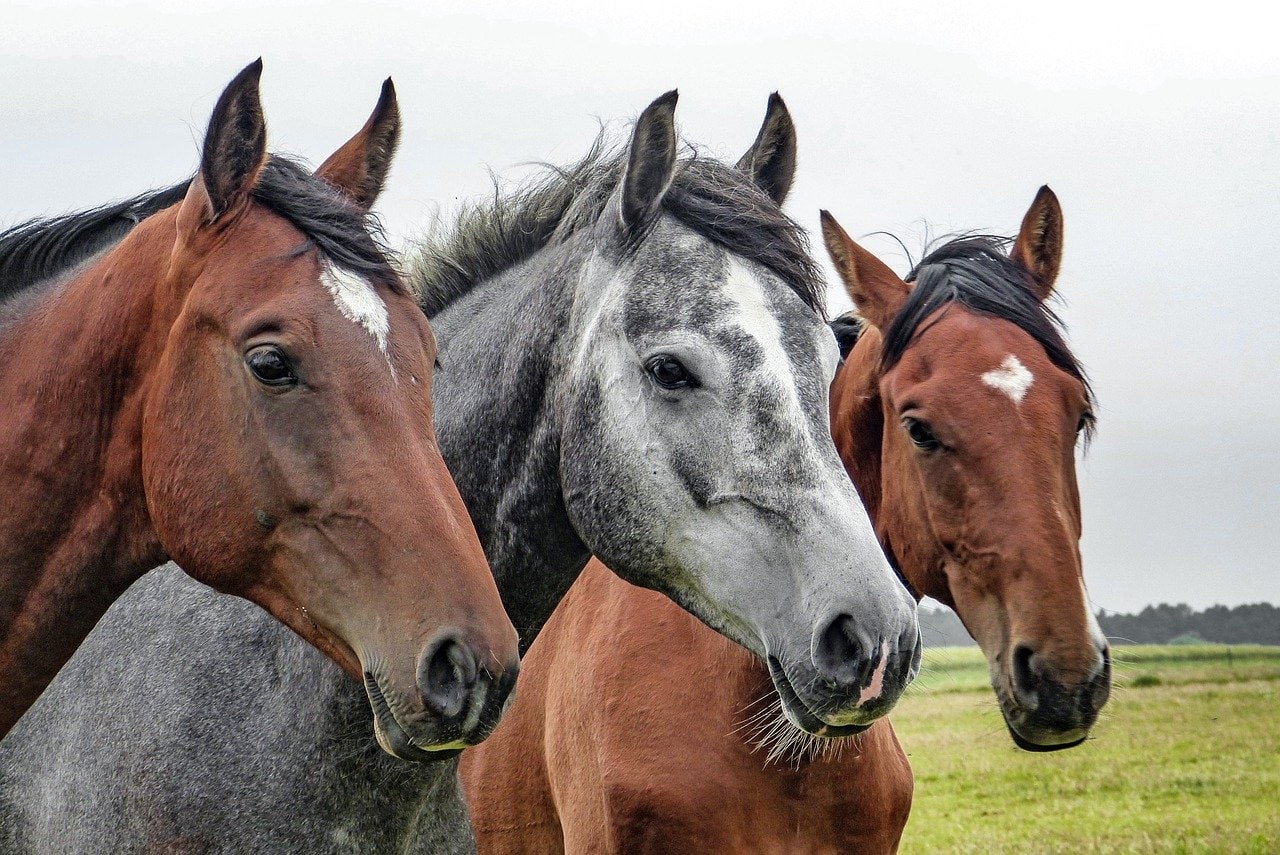
Featured Image Credit: StockSnap, Pixabay