Click to Skip Ahead
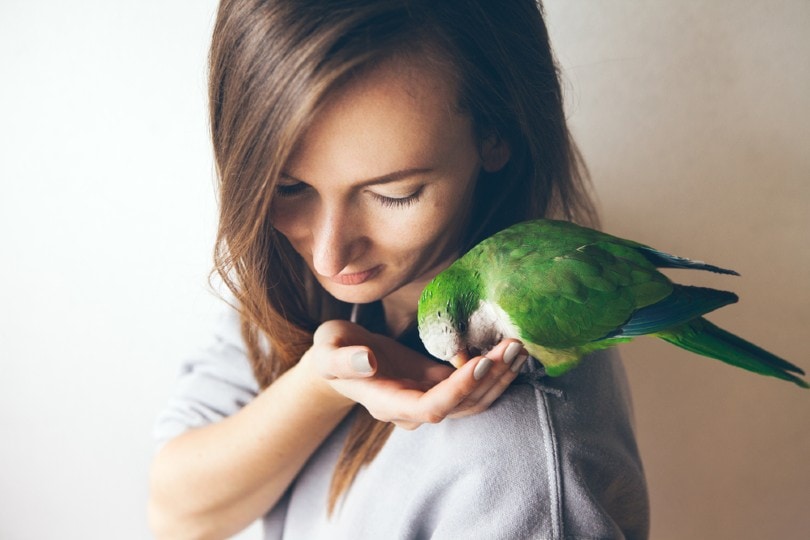
Many types of birds are popular pets across the globe, and parakeets are no different. In the same way other domestic pets need attention paid to their nails, so do Parakeets.
In the wild, parakeet’s nails are worn down naturally by their grooming habits and by the variety of branches and environments they find themselves upon. All these surfaces are different sizes and textures, and these combinations ensure their nails do not overgrow.
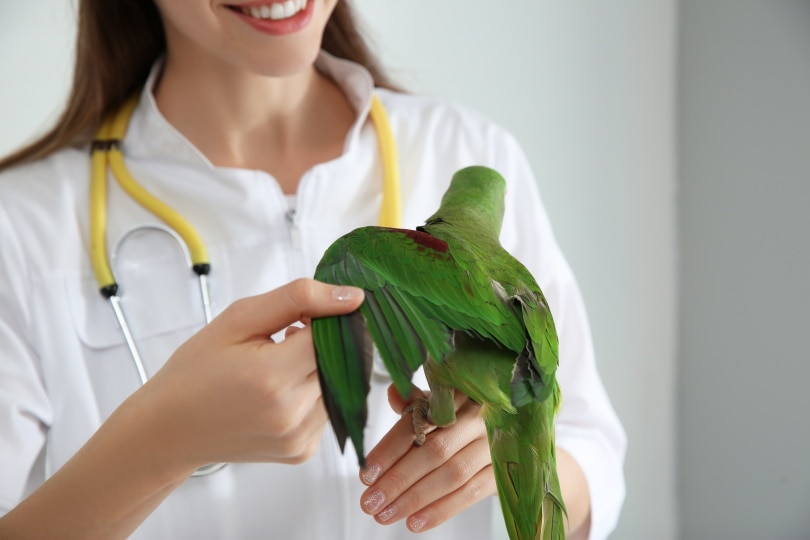
When Parakeets are kept in managed care as pets or otherwise, this natural process is lost. Most often this is due to smooth perches made of the same substance or material being used. Secondly, the majority of these perches are also made of similar sizes and shapes. This prevents nails from being worn down to a suitable length and predisposes your parakeet to their nails overgrowing. Therefore, their nails will require regular clipping either by a professional or by yourself if you feel confident to do so.

How Do I Know if My Parakeet’s Nails Are Too Long?
You will begin to spot (or feel!) when the nails are becoming too long, especially if you are handling them. The nails will hurt you a little more than usual, and you may have scratches or pinprick punctures appearing on your skin caused by their nails. A further sign of nails that are becoming too long is your bird nibbling at their nails or feet or becoming generally irritated with them.
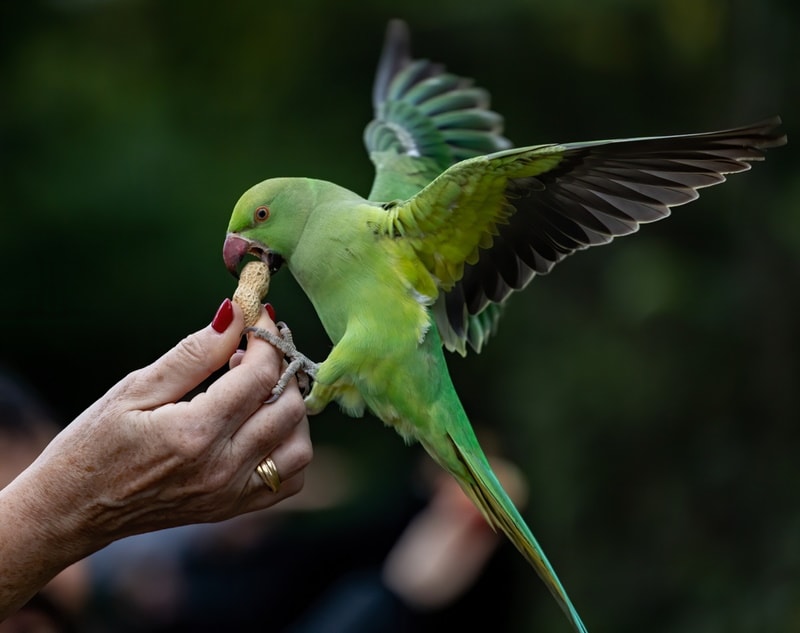
Parakeet’s nails grow rapidly. If they become too long, they can become flaky, and your parakeet may not be able to grip onto branches and other items increasing the chances of them experiencing a fall or having difficulty moving around. In due time, if not trimmed, the nails will begin growing downwards and curl under growing into their feet. This causes discomfort, irritation, and pain.
However, all these situations are avoidable by clipping their nails on a regular basis and maintaining a correct healthy length. Also look to incorporate different types of perches into their enclosure. Even better, if this procedure is started when they are young, it makes it a non-stressful event for both of you!
Preparation Needed to Trim Parakeet’s Nails
Preparation is key! The tools, any helpers you might need, and the right mindset are all required to be prepared and ready to hand before you start. The nail trimming process can fail quickly if you suddenly realize after catching your parakeet you don’t have the clippers, for example. Any mishaps also increase stress levels all around, which is to be avoided whenever possible. It is important to note that birds are very susceptible to stress and can pass away during stressful events. It is therefore key to minimise stress at all times.
How to Clip Parakeet’s Nails in 3 Easy Steps
While cutting the nails isn’t painful, a little noise and squawking from them is normal. However, if vocalization becomes excessive, they become distressed, or are having any trouble breathing, abandon the process. Place them back in their enclosure to allow them to return to a calm state. You may try again at a different time or take them to a professional.
1. Be Confident and Secure Your Pet
Try to do these moves swiftly and confidently. Secure your parakeet in the towel by wrapping the towel around the back of their body, leaving the head out, and firmly hold your covered bird in your hand.
Ensure the wings are tucked in at the sides and you are not pressing too hard on the chest. Excess pressure on the chest easily causes parakeets’ breathing difficulties. You can secure your parakeet’s head between your thumb and middle finger with the same hand. By now, your parakeet should be securely in your hand ready for the next step. It helps to speak calming words to them, or some people even like to sing to them. Use whatever you feel resonates with your bird.

2. Start to Trim the Nails
Place a finger in front of your bird’s foot to allow them to grab onto it. Locate the vein (quick) of the nail. Parakeets have a small vein in the center of each nail, and this can be identified as a red or pink line in the upper portion of the nail. You need to avoid clipping too high up the nail and accidentally cutting this vein, as it will cause bleeding (surprisingly, quite a lot!), and some discomfort.
Once you can visibly see the vein, place a finger under the nail to raise it and clip a small amount off leaving a few mm beyond the vein. Start with small cuts to avoid hitting the vein accidentally. If needed, you can clip another small portion again until the nail is the desired length. If preferred, after clipping you can file the nail end to ensure it is smooth.
What if I Accidently Cut the Vein?
Remain calm. Place pressure on the toe above the bleeding nail and apply the styptic powder you have either from your veterinarian or pet store and place it on the nail. This should stop any bleeding. Once bleeding has fully ceased, wash any remaining off to prevent your bird from ingesting it via nibbling and grooming. If the powder fails to work and bleeding continues, take your parakeet to your veterinarian with urgency, as parakeets can lose a lot of blood rapidly.
3. Reward Them!
Once all nails are clipped offer a few treats as a reward and release your parakeet. This reinforces that they’ve done a good job and that the process has a reward associated with it, making it easier for the future. All done!
Conclusion
While it can be a little difficult to trim your parakeet’s nails at first, you’ll get the hang of it eventually. Just remember to remain calm and give your little bird lots of love and praise throughout the whole process.
Featured Image Credit: New Africa, Shutterstock