Capturing the perfect pet portrait of your beloved rabbit is a challenging yet rewarding endeavor. While the quality of your camera and the post-processing skills of your photographer will certainly play a role in the final outcome, there are several simple tips that you can use to ensure your photos come out as close to perfect as possible.
There are quite a few things to consider when taking great rabbit photos, including setting up the ideal environment for your bunny friend and choosing the right settings on your camera. So here are 13 rabbit photography tips for taking the perfect pet portrait. Let’s take a look at them.

The 13 Photography Tips for Perfect Rabbit Portraits
1. Choose the Right Environment
When you’re setting up the environment for your rabbit photoshoot, the first thing you should consider is the lighting. Carefully plan your shoot to ensure that your rabbit is sitting in front of a light source that will flatter its fur and skin. Try to avoid fluorescent bulbs and incandescent lights as they will cast a blue or yellow hue on your rabbit’s fur that will show up in the final photos.
Instead, consider natural sunlight or a soft, diffused, white light to avoid any unwanted color casts on your rabbit’s fur. Alternatively, if you’re unable to find an area with ample, direct sunlight, you can use a ring flash or softbox to create a diffused, yet powerful light source. A ring flash will emit a very soft light that will help avoid any harsh shadows on your rabbit’s face, while a softbox will also create a very soft light that will eliminate any shadows and create a beautiful, even light.
2. Use Natural Light
Once you’ve found an ideal space in which to photograph your rabbit, you should begin by setting up your camera and tripod, and then moving your rabbit, and its chair, into place. The best way to get natural, soft light, however, is to move your rabbit and chair in front of a large window or open door.
And if you don’t have any natural light sources nearby or a window that will work for the shoot, you can also use a reflector (which you can create with aluminum foil and a board) to create a similar effect. Make sure that your rabbit is positioned in front of the window or door in a way that will avoid excess glare on its fur. The light should fall softly on their face, while the rest of the body remains in shadow.
3. Make Sure the Rabbit Is Relaxed
Rabbits aren’t as photogenic as dogs and cats. So, the difference between a portrait of a relaxed, happy rabbit, and that of a stressed, uncomfortable one, is pretty big – and noticeable. If you’re photographing your rabbit indoors, try to find a location that is comfortable and familiar to them. And if your rabbit is used to sitting in a certain corner of the room, try to situate the photoshoot there.
But the photoshoot must take place in an unfamiliar location, you can use treats, toys, or even calm words to help your rabbit relax. If you’re out in nature, try to find a serene spot in which your rabbit can chill and relax before the shoot begins. Choose a place where your rabbit is free from random distractions, such as the sound of nearby traffic or other animals.
4. Be Super Patient with Your Rabbit
Rabbits are curious creatures just like any other pet so don’t be surprised if they approach you and take a look at your lens as soon as you press the shutter button. That being stated, expect high failure rates when photographing rabbits – especially if the rabbit is young or having their photo taken for the first time.
The majority of your shots may not work simply because rabbits, (unlike dogs) aren’t able to hold stunning poses for extended periods of time. So, take your time watching your rabbit and be patient. Keep your camera handy. This way, if your rabbit is in a unique pose, you can quickly take a few frames to capture it on the spot.

5. Stimulate It with Sounds and Toys
You can use a few simple techniques to get your rabbit’s attention. First, rabbits love rustling sounds so if you hold the camera up and crunch a paper bag in one hand, your rabbit may look over so that you can capture a few frames. Finger snapping is another alternative. This involves you snapping your fingers until the rabbit starts to investigate.
This works well but the rabbit will soon get bored if it finds that there’s no food in your hands. If you like more “in-motion” photos, then consider getting a toy. If possible, try moving the toy around with one hand and take photos of your rabbit while engaged – or consider getting an assistant.
All of these techniques require one-handed shooting unless you have an assistant. To avoid blurring, you’ll need to maintain a shutter speed that is fast enough. While we will discuss settings more in depth later, Aperture Priority can be used. It keeps the camera charged but gives up control when necessary.
6. Frame Your Subject Strategically
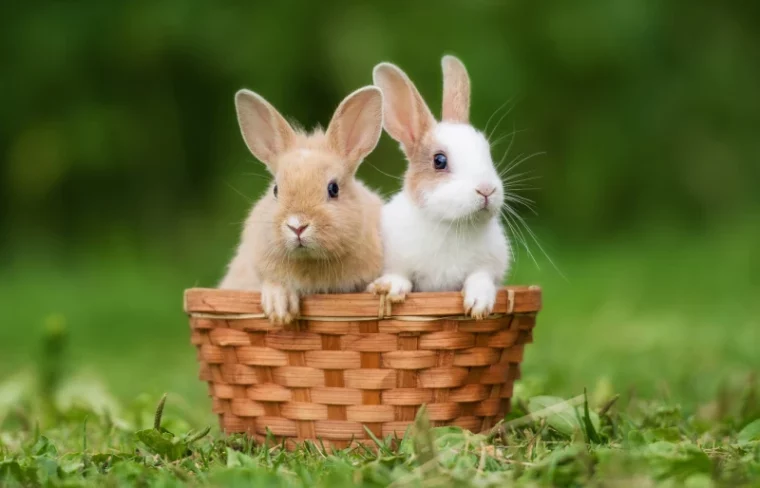
Good, thoughtful framing is important to highlight your main subject and make it stand out in the photo. This is possible by framing your rabbit using other visual elements. For example, if shooting outdoors, you can shoot through long blades of grass, shrubs, or tree leaves, giving the rabbit a natural frame. Or you can also shoot indoors using everyday household items and furniture such as chair legs, woven baskets, and banister railings.
7. Focus on the Eyes
Pet photos should include sharp eyes – after all, eyes tend to capture the attention of viewers when it comes to human and animal subjects. This applies to rabbit photos, dog pictures, bird photos, as well as wildlife photos. It can be difficult to keep your eye on the camera, especially when you are shooting close up or if your rabbit is actively hopping around. So here are a few simple tips to help you keep your eyes focused.
- If you’re having trouble getting the rabbit’s eyes in focus, try reducing the aperture (assuming that you have enough light).
- Consider using the AF/S mode to capture your rabbit if they are active for only a few seconds before moving away. After your rabbit has sat still for a while, you can use one AF point to focus on its eyes. Then, recompose the shot and take the photo.
- If you have a Sony camera, do a few test shots using the ‘Animal Eye AF’ setting.
- Switch to manual focus if all else fails. Although it may seem cumbersome, if you’re able to focus accurately manually, your keeper rate will increase.
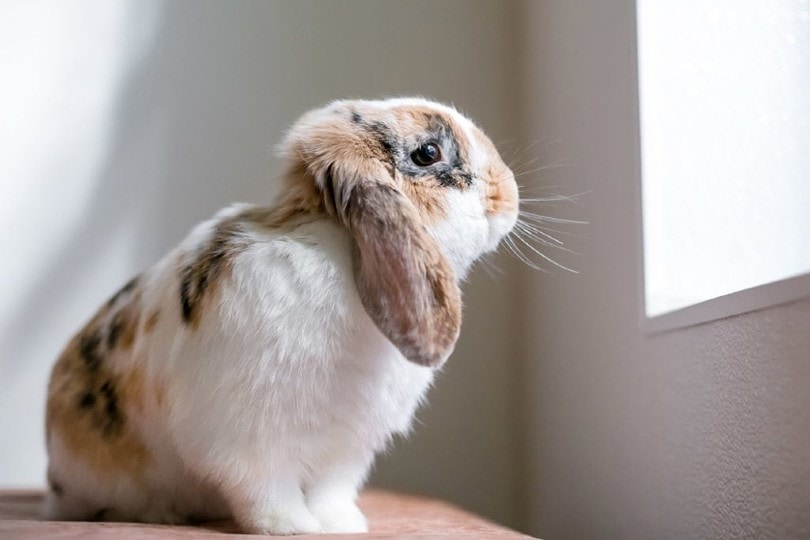
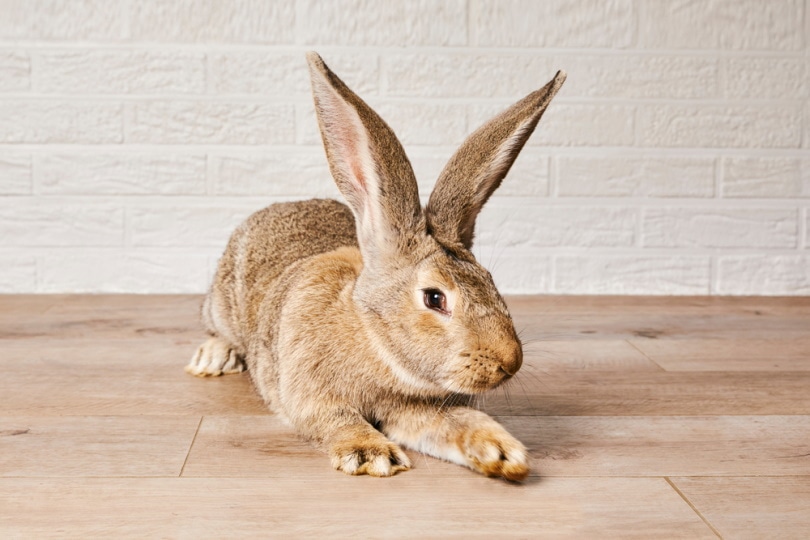
8. Find the Right Angle
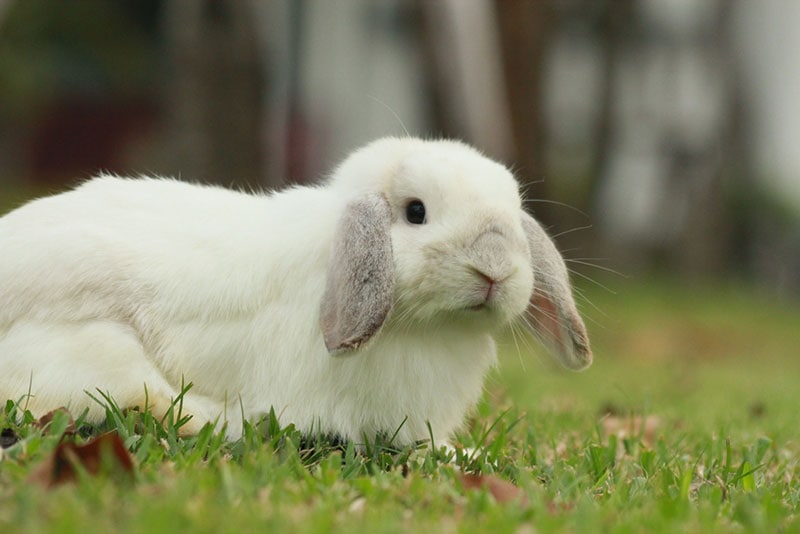
Capturing a beautiful portrait of your rabbit will require you to pay special attention to its ears. Unlike humans, whose ears sit in the middle of their head, rabbits’ ears tend to hang down the sides. Finding an angle that highlights your rabbit’s ears without cutting them off at the top or bottom will make a huge difference.
Simply sitting your rabbit up straight in a chair is an easy way to ensure that its ears are in full view, but the resulting portrait will likely appear stiff and unnatural. Instead, try crouching down beside your rabbit, sitting cross-legged beside them, or sitting them up on a couch or bed to find an angle that highlights their long floppy ears while still looking natural and more relaxed.
9. Select the Right Camera Settings
When it comes to camera settings, the first thing you’ll want to do is select an aperture setting that will let as much light into your camera as possible. Shooting in aperture priority mode or manual mode will allow you to select an aperture anywhere from f/1.4 to f/8. If you’re shooting indoors, you’ll likely want to select a wide aperture to let in as much light as possible, whereas if you’re outside on a sunny day, you may want to select a smaller aperture to create an intense, soft-focus effect.
For everyday photos, an aperture between f/4 and f/5.6 will provide you with a nice balance between a more blurred background and enough light to create a well-exposed photo. Aim to keep your shutter speed below 30 seconds to avoid overexposing your images.
10. Use a Flash
If you’re photographing your rabbit indoors, you may notice that you’re struggling to get a well-exposed image. If your rabbit is sitting in a dark corner, or its ears are partially obstructed by a wall or piece of furniture, your image will be underexposed or lacking enough light. You can easily rectify this problem by simply hitting the flash button on your camera, or by purchasing an external flash for your camera.
A flash will emit a burst of light that will brighten up the shadows that are darkening your image and allow you to capture a beautiful portrait of your rabbit. You can also use a flash to create interesting effects and illuminate dark corners.
11. Utilize a Shutter Release
To reduce the amount of movement that occurs when the shutter opens and closes, you may want to use a shutter release. This simple tool will provide you with a bit of extra time to reposition your camera and avoid any unintentional movement – it also helps prevent “camera shake”. The best shutter release for rabbit photography is a wired remote shutter release.
This type of shutter release has a long cord that connects to your camera and provides you with more freedom of movement than an infrared remote shutter. A shutter release is especially important when you’re photographing a rabbit outside in nature, where any movement or vibration caused by your hands will be greatly magnified in your final image.
The release will help to control any vibrations that occur when the shutter is open. And it’s best to use a wired remote shutter release for outdoor photography so that there’s no risk of sending an infrared signal that could scare away nearby animals.
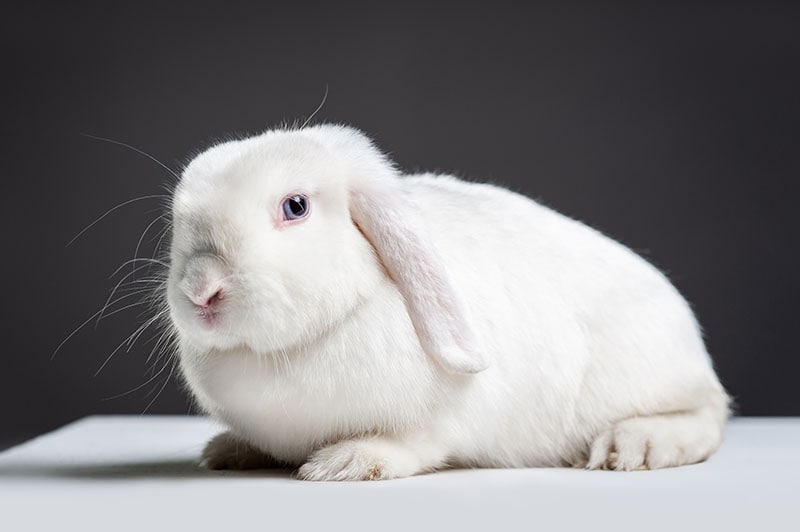
12. Experiment with Different Backgrounds
While you may be tempted to place your rabbit on a neutral background, as many pet photographers do, you may find that the resulting image is lacking any interest or personality. Instead, experiment with different backgrounds, such as a colorful blanket, a brick wall, or even a wooden fence.
These more interesting backgrounds will draw the viewer’s eye away from your rabbit and towards the background. If you’re photographing your rabbit outside, you can experiment with different trees, fences, and foliage as backgrounds, or even try photographing your rabbit in front of a sunset or a clear blue sky.
13. Take Lots of Photos
You may be surprised to find that the first few images you take aren’t perfect – something that is common with new photographers. While you want to avoid having your rabbit get bored or stressed out during the process (or yourself for that matter), you also want to take enough photos to ensure that you get at least one great shot.
While it may be tempting to spend a few minutes shooting one perfect shot, and then calling it a day, you’ll be much more likely to have a usable photo if you take lots of photos. Taking lots of photos will also help you to practice and improve your photography skills. And this way you can have a good number of photos that you like, even though you may decide to scrap many of the photos that you took.

Wrapping Things Up
Now that you know the basic ins and outs of getting the perfect rabbit portrait, you’ll want to start thinking about the type of photo that you want to take. Is it a portrait of your pet, an adorable family snapshot, or a cute Halloween costume? Whatever you want to capture, you should begin by choosing the right background.
Your rabbit’s favorite spot in its space in your home can be used as a lovely backdrop for your photo, or you can even use the wall or floor of your photoshoot space as sort of a faux canvas for your rabbit’s photo session. If you have the perfect spot in mind, you can start taking some photos. However, you should take care to minimize any potential distractions that may occur during the shoot – especially if you’re shooting outdoors.
Featured Image Credit: Rita_Kochmarjova, Shutterstock