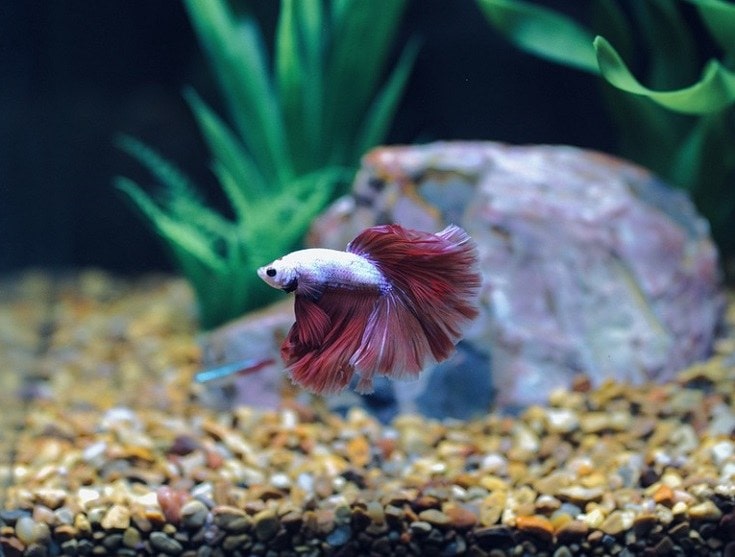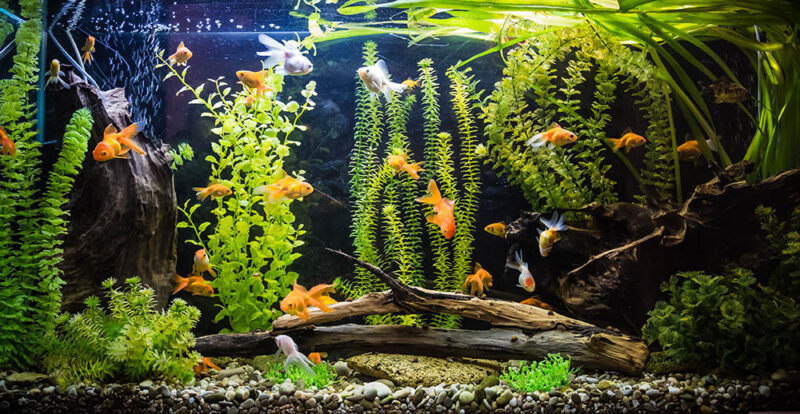
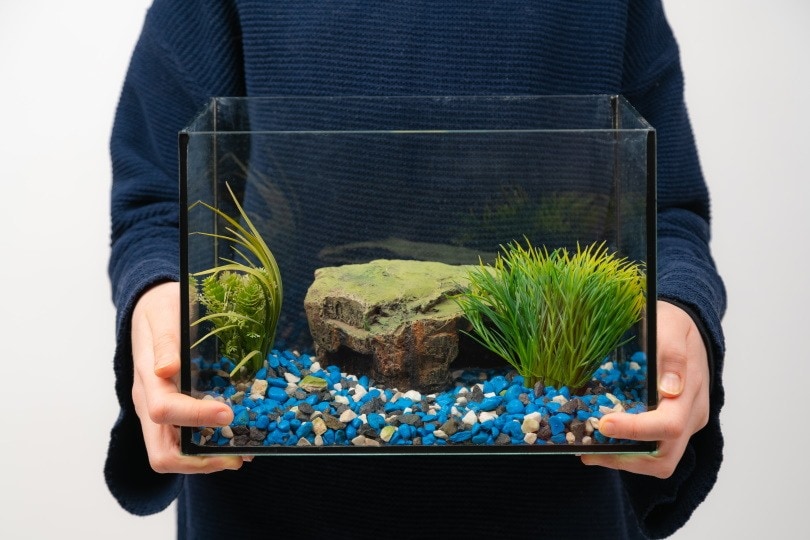
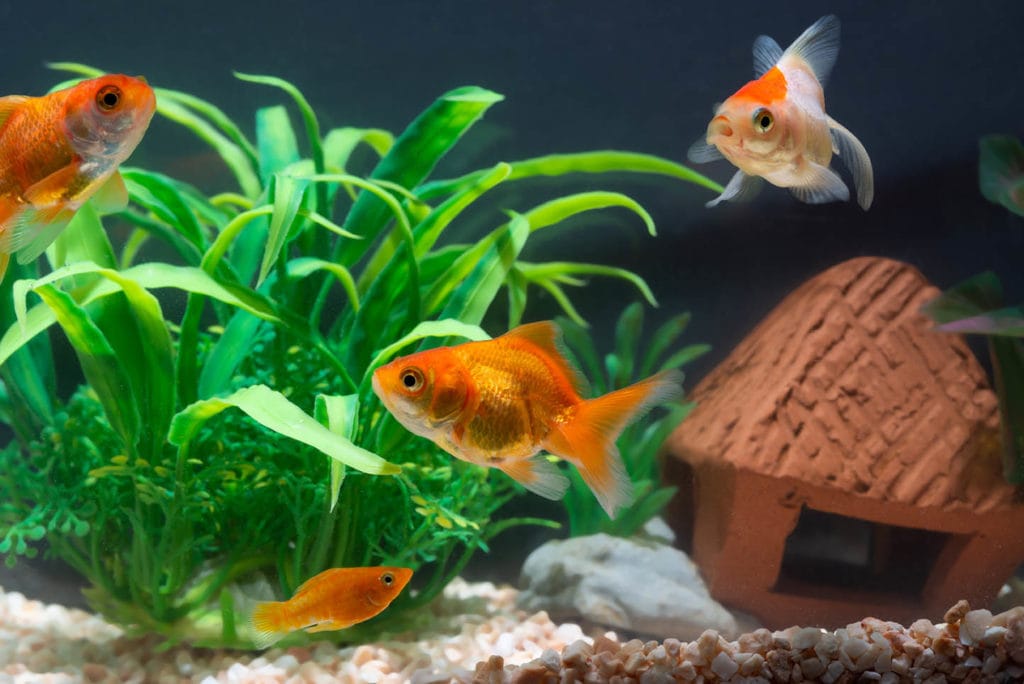
The chances are you at least have some kind of decorations or plants in your aquarium. After all, it’s just as much for your enjoyment as it is for your fish. They benefit from having places to hide from larger or more aggressive species. The more complex the layout, the better it is for your aquatic friends because it means niches of several sizes to accommodate all of them.
The background on your tank unifies everything you’ve placed inside of the aquarium. It can add dimension, which can make it look bigger. It also looks better to have something to hide all those tubes and intakes. Who wants to see that stuff? One option you may have considered is painting your tank. Let’s face it. Backgrounds sometimes come off, or the sticky stuff loses its adhesiveness.
On the other hand, paint offers a permanent solution that can make it easier to clean your tank while providing the same aesthetic benefits. That’s a good thing if you’re pleased with your color choice. Otherwise, you’re probably looking at a replacement aquarium if you change your mind. Let’s look at some aquarium-safe paints and how to paint your aquarium and aquarium decor in this article.
 Before You Start
 Before You Start
There are three types of paint: acrylic, oil, and epoxy.
Safety Concerns
Manufacturers will include best use practices and whether you should use the paint above the waterline or if it’s safe below it. However, you shouldn’t put any product that contains anti-fouling agents or mildew protection inside of your aquarium. These ingredients are often toxic to aquatic life. One of the best ways to check a paint’s safety is to read its Material Safety Data Sheet (MSDS).
These documents provide a detailed description of all the potential safety hazards of using a material to humans, wildlife, and the environment. It includes a section on aquatic animals and plants, too. Reading these tech sheets is daunting because they cover worst-case scenarios. After all, anything is potentially toxic, even water.
You can also opt to use paints labeled as food-grade. That will tell you something about its safety but not about its durability under water 24/7/365. That’s the other essential factor when painting the interior of an aquarium. Bear in mind that these precautions don’t necessarily apply to the outside of the tank as long as it doesn’t come in contact with the water.
Check Your Surfaces
You should also check what surfaces on which you can use a particular paint. You’ll usually see this information spelled out clearly. Not all products adhere to all surfaces. Many require you to scuff up the surface to give the paint something on which to stick. Of course, that’s a problem with a tank since you can’t easily do this task without ruining the clarity or structural integrity of the aquarium.
Likewise, some paints may not stick to ornaments or other decor that you want to decorate. We recommend sticking with items that fit the task at hand and specify it in plain language.
How to Paint Your Aquarium in 14 Steps
1. Decide on Your Aquarium’s Theme
After getting the preliminary stuff out of the way, it’s time to delve into this fun DIY project, starting with your tank’s theme. Do you want to create a particular atmosphere or aquatic environment with your background? Is it the focal point or just a backdrop for what’s inside of your aquarium? Unlike painting rooms in your home, you’ll likely find that you have limited choices other than the basics.
2. Verify the Product’s Safety
You may find that the safety of paint for the inside of your tank varies with your color choice. We recommend consulting the MSDS for the product and color that you have chosen to play it safe. If you can’t find one for the specific shade, err on the side of caution and contact the manufacturer. Bear in mind that painting a tank isn’t a typical use for these products, so they may not know for sure.
3. Check Out Your Color Selection and Application Instructions
We suggest having a backup plan in case the color you want to use won’t work inside your tank. Alternatively, you can confine unsafe interior paints to the outside of your aquarium where it won’t pose an issue. If you have a UV or LED light, you might also want to check what it’ll look like when it’s on to avoid any unpleasant surprises.
It’s also an excellent time to get your brushes or any other materials you’ll need to apply the paint and clean up afterward. We suggest that you don’t skimp on these things. Saving money doesn’t always have the same effect on time and effort. Stick with the manufacturer’s recommendations for the best results.

4. Set Up Your Work Area
Now, it’s time to roll up your sleeves and get to work. Paint your tank outside or preferably in a garage. Going the latter route can help prevent leaves or dust from sticking to the wet surface. Lay down a drop cloth to cover your work area with a generous perimeter added to the space. Have all your things ready and within hands’ reach before you pop open the can of paint.
5. Prepare the Tank’s Surface
The product’s label will provide the best-use instructions for preparing your tank. Pay attention to the types of products it suggests you use, whether it’s a rinse with plain water or a soapy clean before applying the paint. Remember that you’re taking the surface you’re painting off the table for future cleaning. Make sure that it’s streak-free and dry before you start.
Likewise, follow the same instructions for any decor you’re going to paint. Be sure to use lint-free towels to dry them, taking care to get into any cracks or crevices.
6. Mix the Paint as per the Manufacturer’s Instructions
You might only need to stir or shake some products. Others will require pre-mixing. We suggest preparing more than you think you’ll need to avoid a pause in the action that can cause noticeable lines. Most paints will provide an estimated coverage area to help you gauge how much to pour out or mix. Promptly cover the can to avoid it drying out as you work on your project.
7. Begin Work on the Inside of the Tank, if Applicable
If you’re painting either only the inside or both in and out of your aquarium, start with the inside first. That way, you won’t risk marring the back of the tank if you began with it instead. You’ll find it works best if you lay the tank on its side to avoid drips. You may find that the paint adheres differently to the silicone corners. That’s why it’s essential to know how to prepare the surfaces before starting.
If you’re painting ornaments, pay attention to where you place them to avoid sticking. You may find it easier to elevate them so that the bottom isn’t in contact with the space below it. That will ensure better air circulation for faster drying.
8. Apply Additional Coats as Recommended or Desired
You may need to apply more than one coat, depending on the product. The label will also provide information about the drying time between coats. Bear in mind that humid or cold conditions may slow how quickly you can tackle the next coat. We suggest playing it on the conservative side and adding some extra dry time.
9. Allow Paint to Cure Completely
The manufacturer will also provide a curing time before the tank or your decor are ready for showtime. Don’t be tempted to rush the process, even though it seems like nothing is happening. It’s a critical step toward getting satisfying results and avoiding unnecessary fish or plant loss.
10. Prepare the Back and Sides of the Tank as Necessary
If you’ve done the inside and are going for the back and sides, now is the time to repeat and rinse with your prep. Don’t skip this step, especially if you kept the tank on its side to do the inside of it. Dust and debris can make it harder for the paint on the back to stick.
11. Repeat the Painting Process
Follow the same instructions for the back of the tank as the inside, if applicable. Doing this side is trickier since drips are more of a concern if they flow into an unpainted area. That makes keeping a damp cloth nearby a smart idea to sop up those mistakes while the paint is still wet. Just be sure to wipe it up completely to avoid streaks.
12. Let the Aquarium and Decor Sit Until It’s Completely Cured
This step is probably the hardest one of all of them, but it’s the most critical. It can make the difference between a job you’re proud of and one that you feel compelled to fix. It’ll also ensure that the paint adheres to the surfaces to reduce flaking. Depending on the product you’ve chosen, you may also need to follow up with a clear coat to seal the deal.
13. Set Up Your Aquarium
Now that your tank and its decor are painted, it’s time to set up your tank and bring your vision to life. We suggest taking your time to see how everything works together in case the final product was different than you expected. However, don’t forget to pat your back on a job well done!

14. Monitor the Paint’s Condition
It’s essential to keep track of how the paint performs after you’ve finished, particularly if you have higher acidic conditions or saltwater in your tank. UV light may also take a toll on the color and its durability. If you notice cracks or flaking, act swiftly to prevent fouling the water. Unfortunately, there aren’t tests to monitor it, other than your occasional visual inspections.
Final Thoughts
Having an aquarium is enough joy on its own. Creating an underwater fantasy land takes it to the next level. Painting your tank and its decor is an excellent way to build the theme and environment you want, no matter if it’s realistic or space age. You’ll probably find that it makes having an aquarium even more enjoyable when you give it your signature stamp.
See also:
- 7 DIY Plans to Build Your Own Aquarium Decorations
- 10 Best Substrates for Aquarium Plants: Reviews & Top Picks
Featured Image Credit: S-F, Shutterstock